Uploading Image Files
In RouteShare, you can upload images to insert into articles or use as thumbnails. Touring posts, quick posts, and gadget info all use the same file feature, but the way they are incorporated differs by post type.
How Images Are Used by Post Type
| Post type | How images are incorporated |
|---|---|
| Touring Post | Image blocks in the article body (1 node = 1 image) / spot images on the map / thumbnail |
| Quick Post | A dedicated image slider (multiple images shown by horizontal swipe) / a map link can be added to each image |
| Gadget Info | Image blocks in the article body / thumbnail |
Supported Formats
| Item | Specification |
|---|---|
| Extensions | .jpg / .jpeg / .png / .gif |
| Maximum size | 12 MB (per file) |
| Resizing | Large images are automatically reduced to 1800 px on the long side, keeping the aspect ratio |
Profile images and header (background) images are automatically cropped and resized to suit their use.
About an Image’s Geographic Information (Exif)
The geographic information (Exif) recorded in a photo can be read to automatically place a spot at the shooting location. You can use it by choosing “Analyze location from the album and add” from the photo button in the map editor. For details, see Using the map editor.
You can use this feature if you enable recording of geographic information in your smartphone’s camera settings.
Uploading Files
Image uploading works on the spot, where and when you need it. In situations where you choose an image — inserting an image into an article, setting a thumbnail, a spot image on the map, and so on — your device’s file picker opens and the chosen image is uploaded as is.
Checking Uploaded Files
You can check and download images you have uploaded in the past from “Files” on My Page. Tapping each file shows its details and lets you download it.
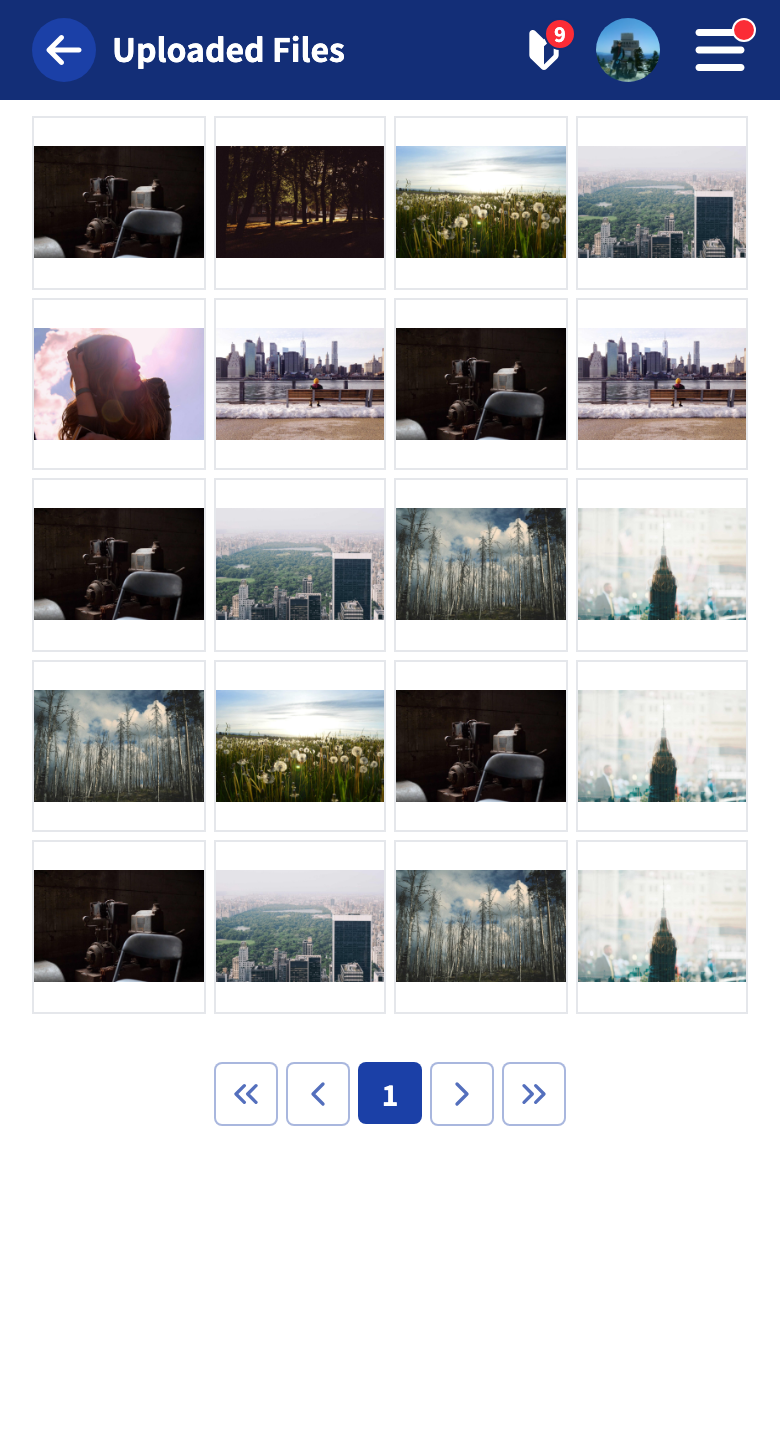
This screen is for viewing and checking uploaded images only. New uploads are done from each editing screen, such as article editing.
Tutorials
- Quick Start
Getting started with RouteShare
- Explore
List, map, and article views
- Account
Sign up, login, profile, settings
- Create
Quick posts, touring posts, gadget articles
- Planning
Create, share, and copy touring plans
- Tracking
Recording and editing tracks
- Teams
Create and join teams, team posts and chat
- Actions
Likes, comments, follows
- Manage
Managing your posts