RouteShare in a Hurry
This page introduces the first 9 steps we’d like you to take when you start RouteShare. First, get a feel for what makes RouteShare special right here.
1. Register an Account
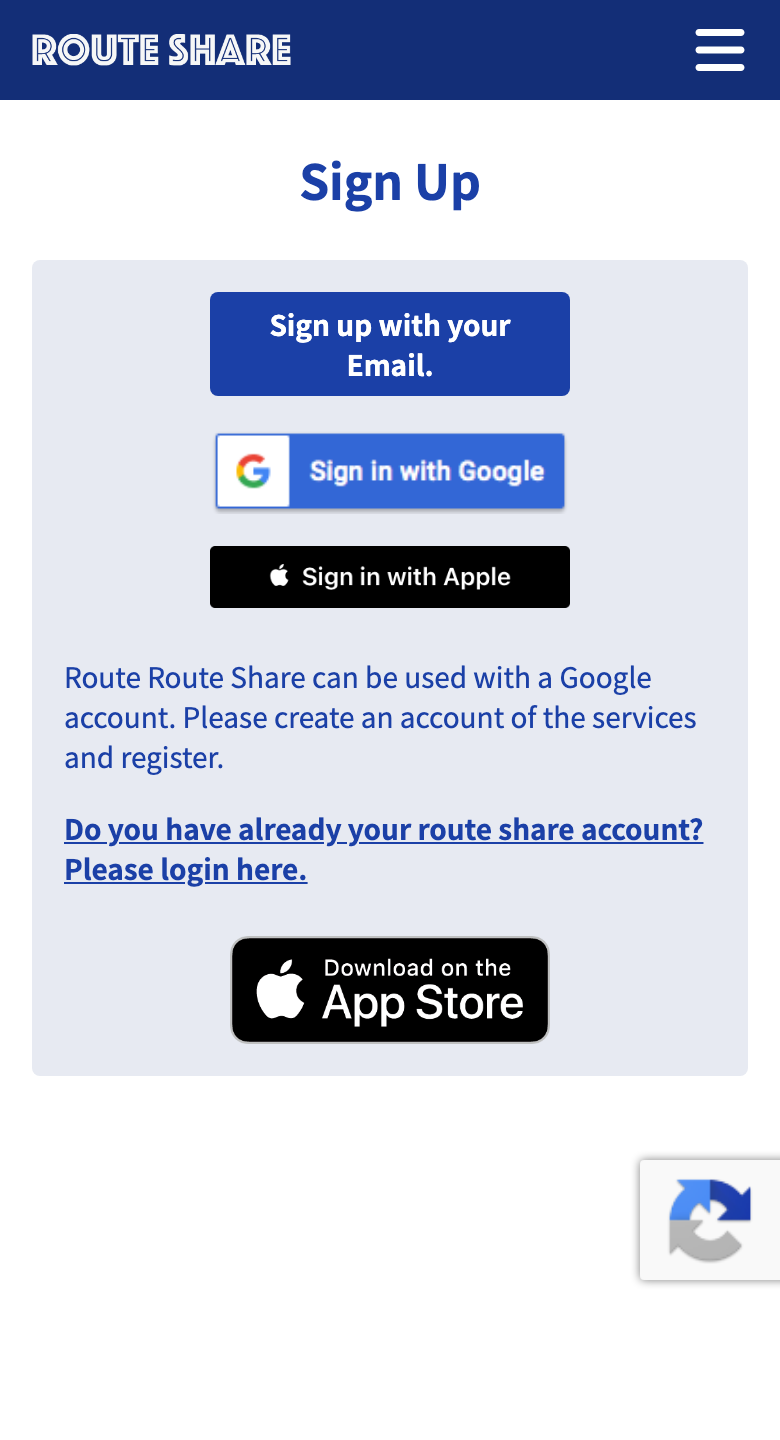
First, create an account from the sign-up page. You can register with an email address, Google, or Apple.
Sign in with Apple is available only in the iOS app and the browser version. It is not shown as an option in the Android app.
If you use a smartphone, we recommend using the dedicated app. Some features, such as GPS recording (tracking), are only available in the app.
For detailed sign-up steps, see How to sign up and log in.
2. Follow the Start Mission
Once registration is complete, Start Mission appears on My Page. It walks you through using RouteShare step by step, so following it at first keeps you from getting lost.
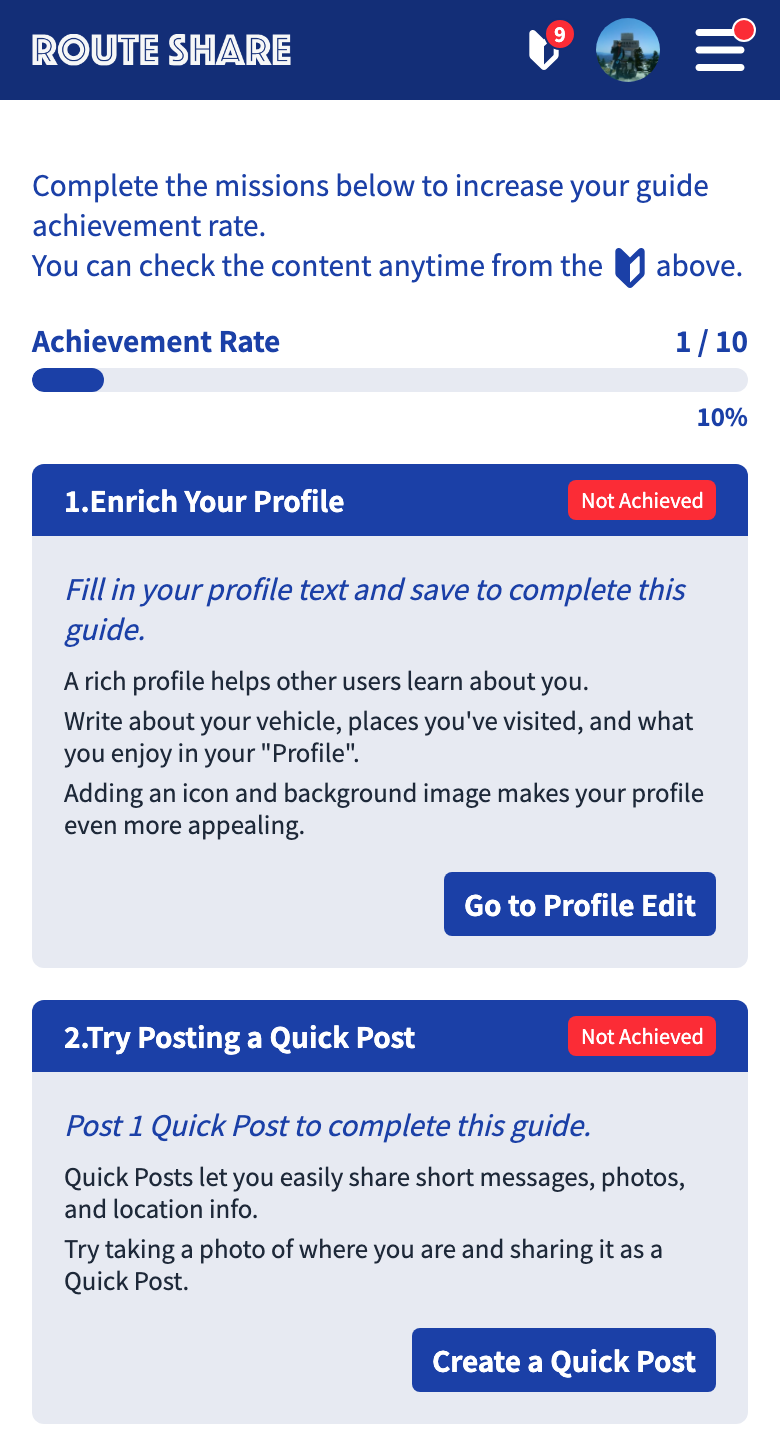
You can check Start Mission again later from Start Mission on My Page. Use it as a guide for when you’re not sure what to do. You can check its contents right away from the young-leaf icon at the top right.
3. Fill Out Your Profile
The first thing you’ll want to set up is your profile. Since it is shown as the author of your posts, filling it out makes it easier for other users to find you.
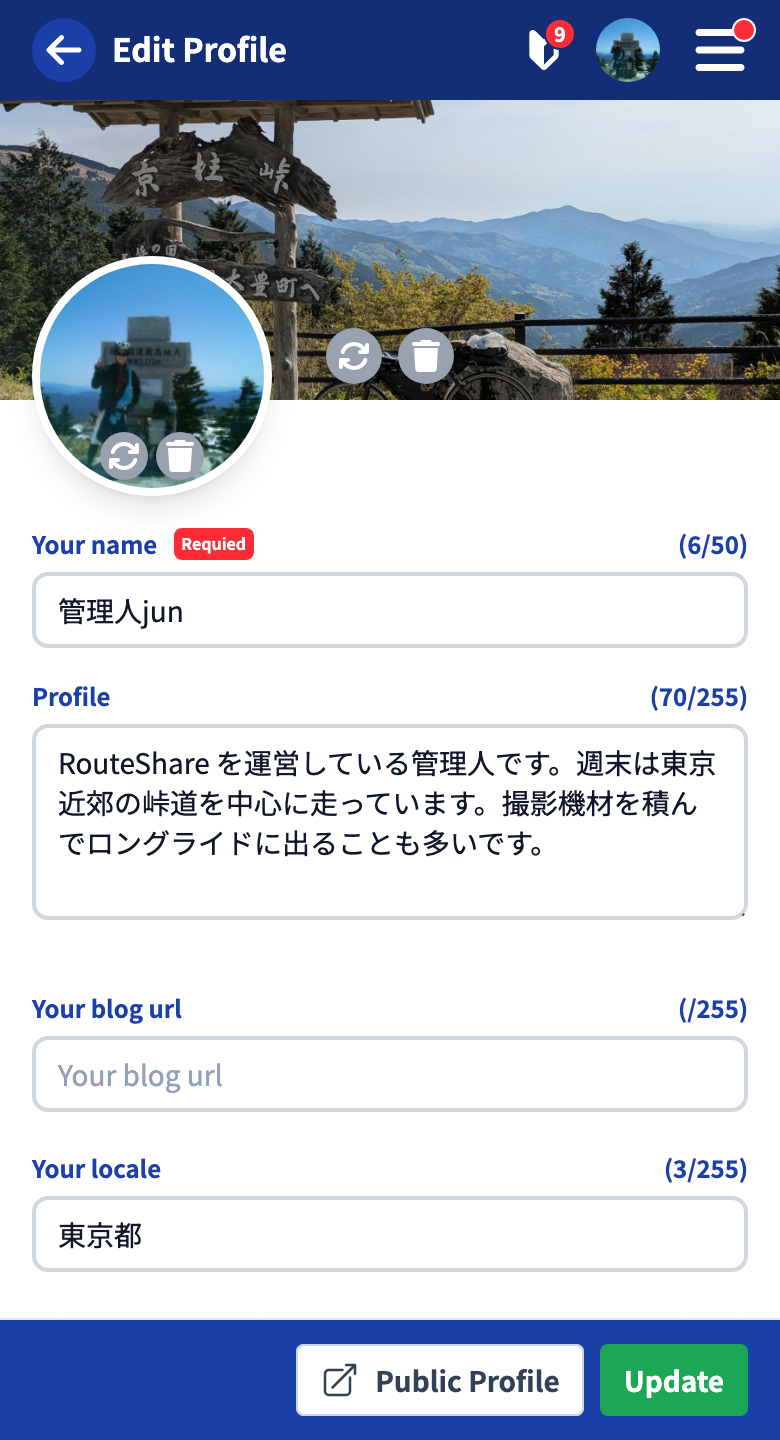
- Enter your name / self-introduction / location / social links.
- Setting an avatar image and a background image (header) greatly changes the impression of your profile screen.
For details, see How to update your profile.
4. Try Searching for Posts
Looking at other users’ posts gives you an idea of what you can do with RouteShare. Tapping Search in the global footer at the bottom of the screen lets you see the list of touring posts / quick posts / gadget info.
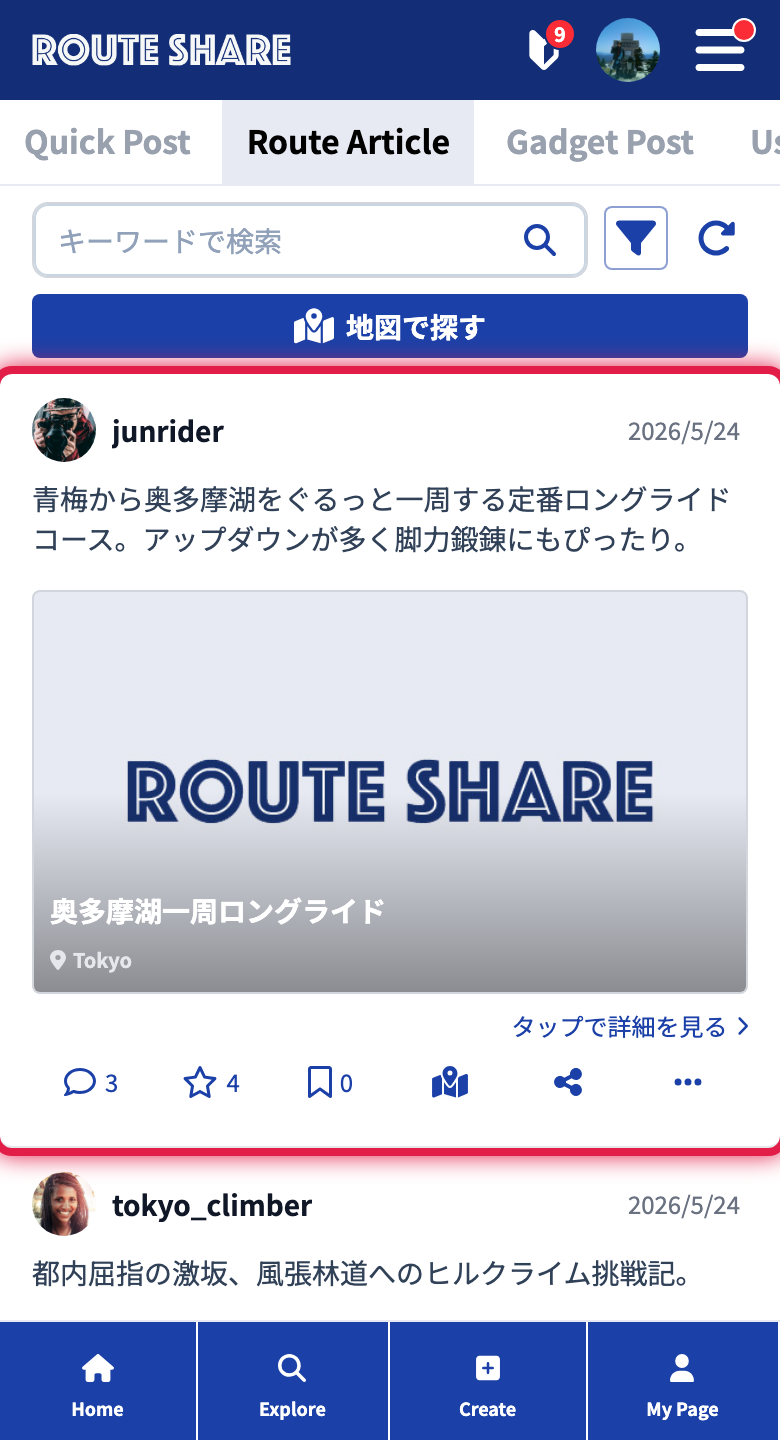
You can also search by place name, prefecture, or tag. Try narrowing down by a place name that catches your eye or somewhere you’d like to visit.
5. Try Posting Yourself
Tapping Create at the bottom of the screen opens a screen for choosing a post type.
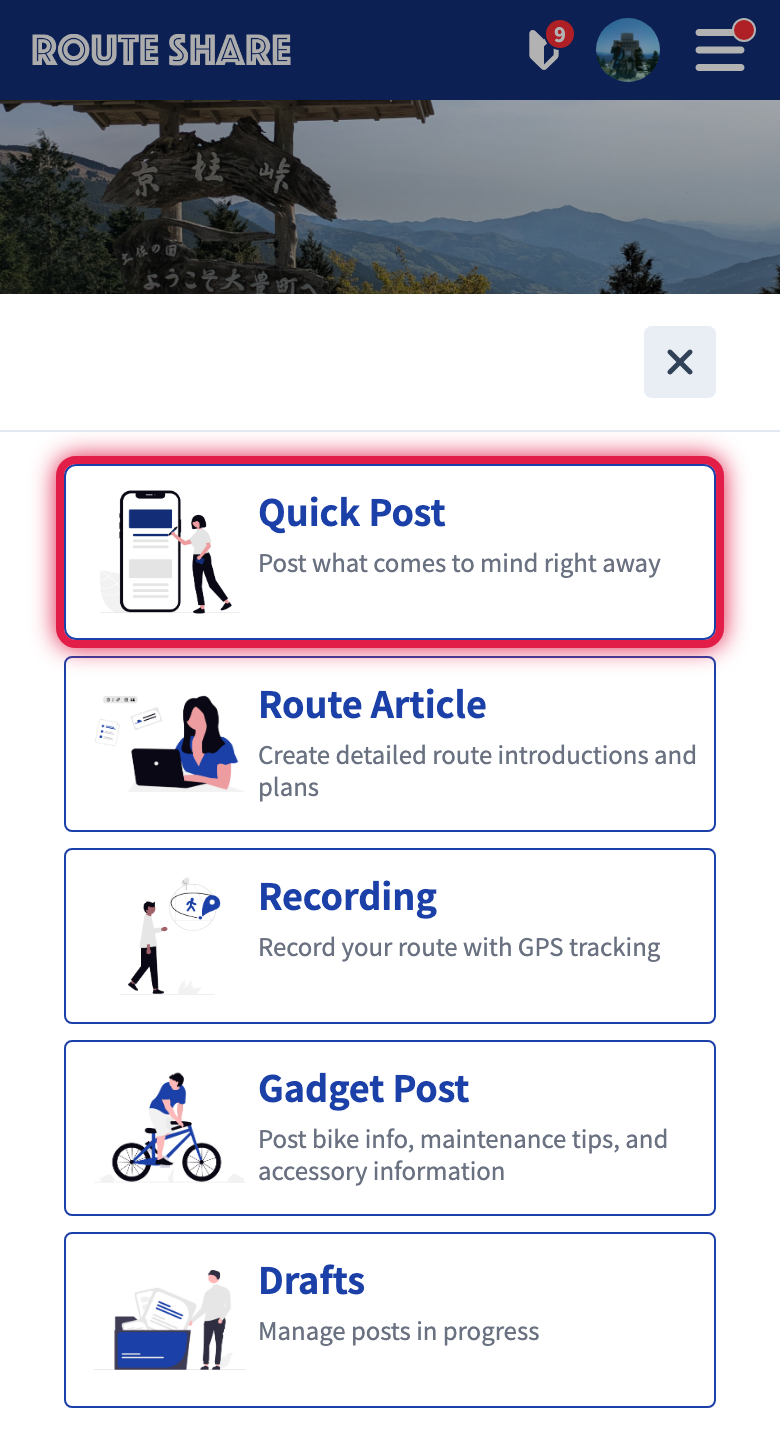
| Type | When to use it |
|---|---|
| Touring Post | When you want to introduce a trip or ride in depth with a map and text |
| Quick Post | When you want to share quickly with a photo and a short text |
| Gadget Info | When you want to write a review of your gear |
If you’re not sure where to start, we recommend introducing yourself with a quick post first. Even just a photo of a favorite spot and a one-line comment makes a post.
For detailed creation steps, see Creating a touring post / Creating a quick post / Creating gadget info.
6. Send Nice Route and Save to Posts You Like
For other users’ posts you like, send a Nice Route to show your appreciation. It encourages the poster.
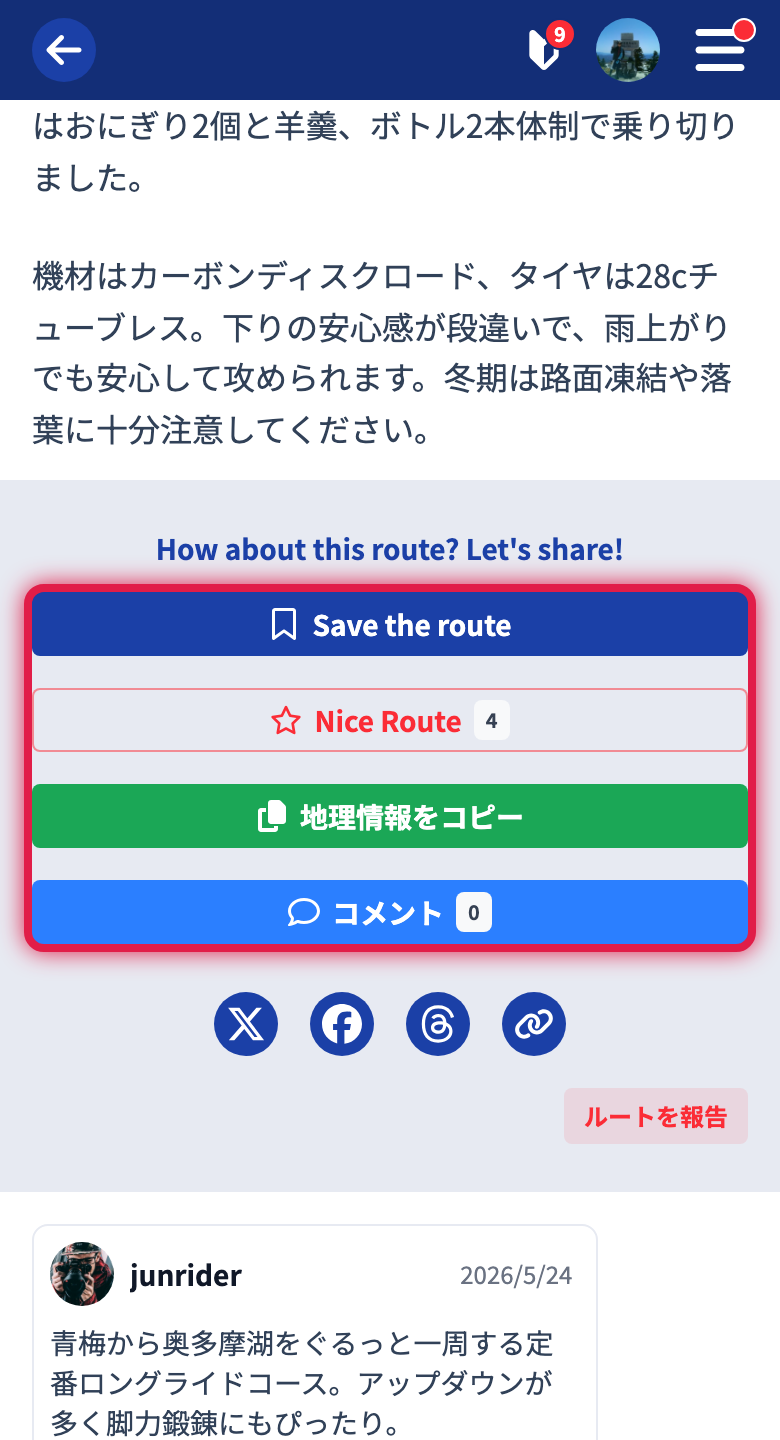
Nice Route and save can be operated directly from the buttons not only on a post’s detail page but also on the cards in the list view. Feel free to react.
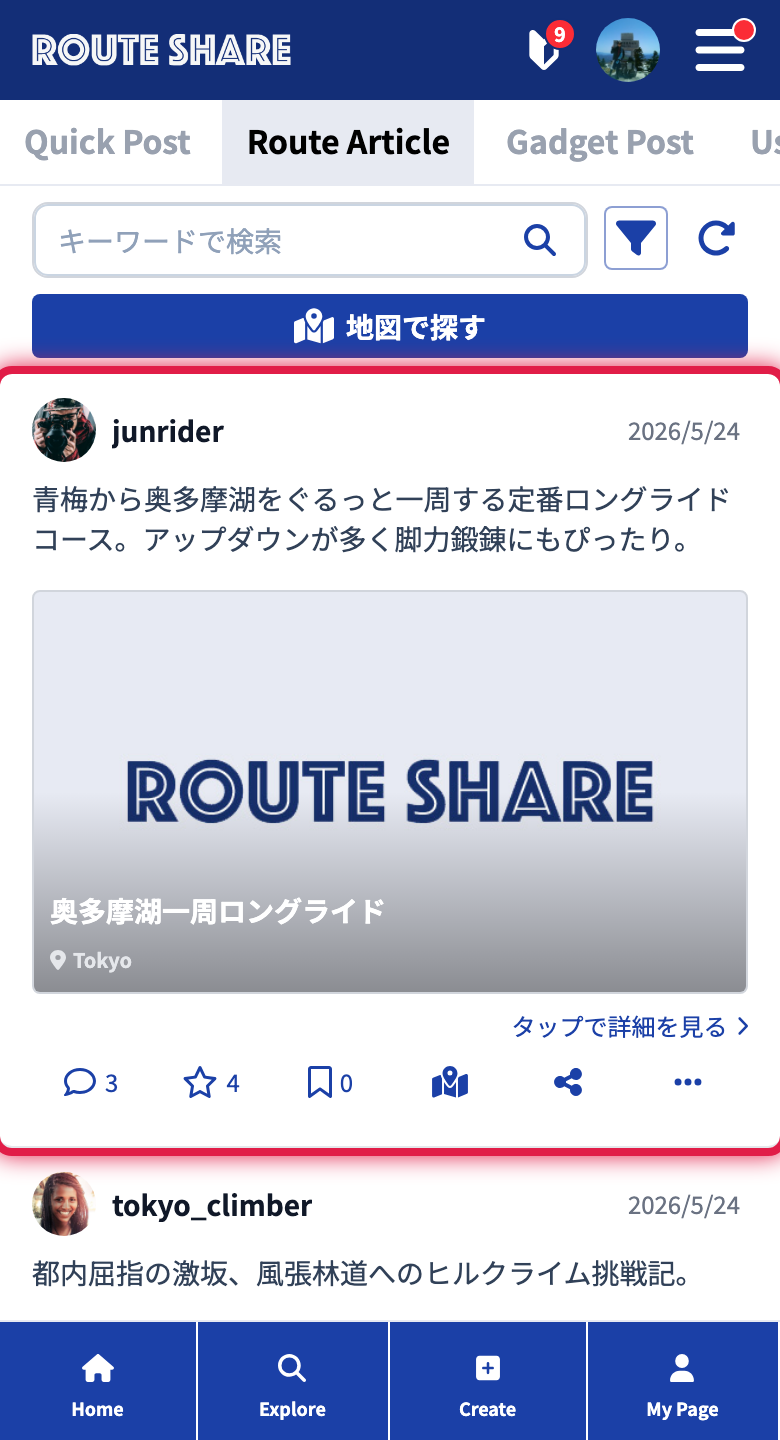
If you save a post you want to read again later with Save, you can review them all together from Saved items on My Page.
7. Follow Users You’re Interested In
Tapping the author name of a post you like opens their profile. If you Follow them, that person’s new posts will appear in your timeline.
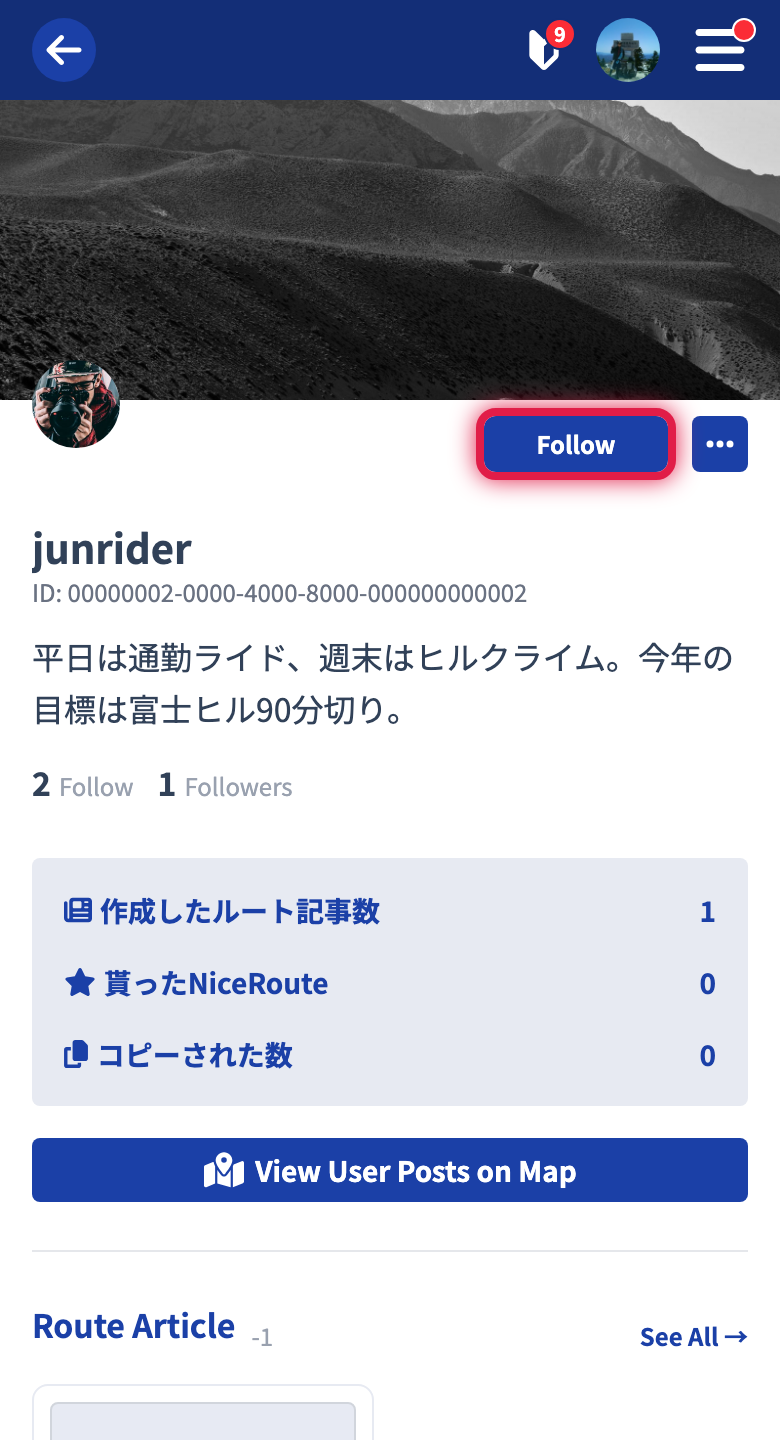
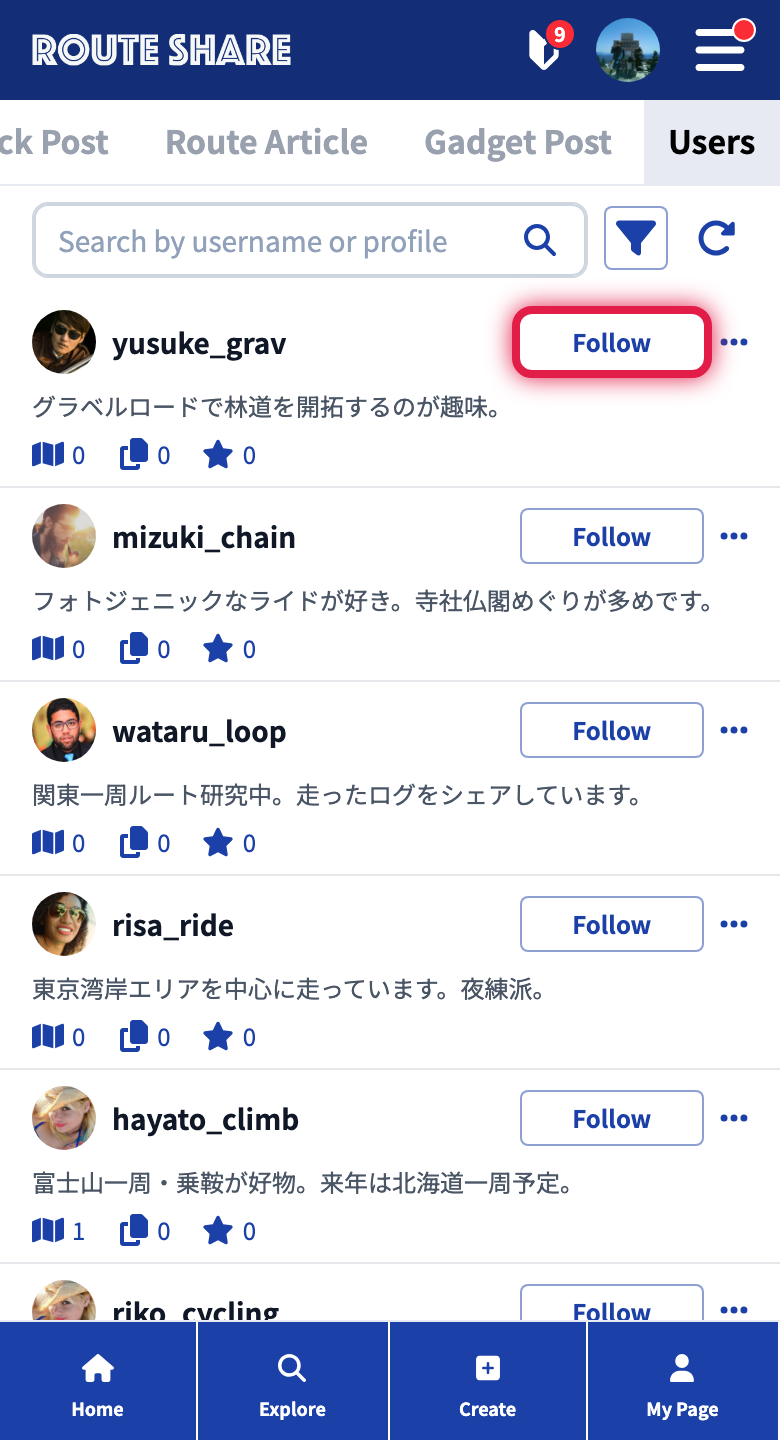
You can follow not only from an individual profile screen, but also directly from the buttons on the user list in Search. Since you can follow someone interesting on the spot, searching by a theme you’re interested in and following several people at once is also a good approach.
You can check the list of users you follow and your followers from Following on My Page.
8. Actually Ride and Record in the App
In the app, you can record the route you ride with tracking. The recorded track can be imported into a touring post’s map, so you can share the road you actually rode as a touring post.
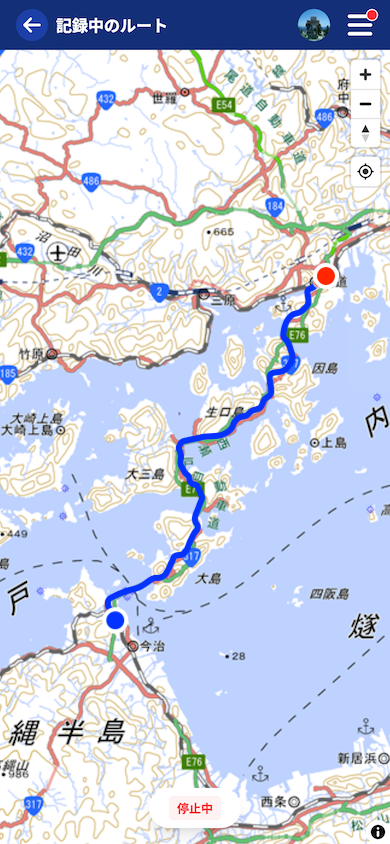
For details, see Tracking.
9. Enjoy Communicating
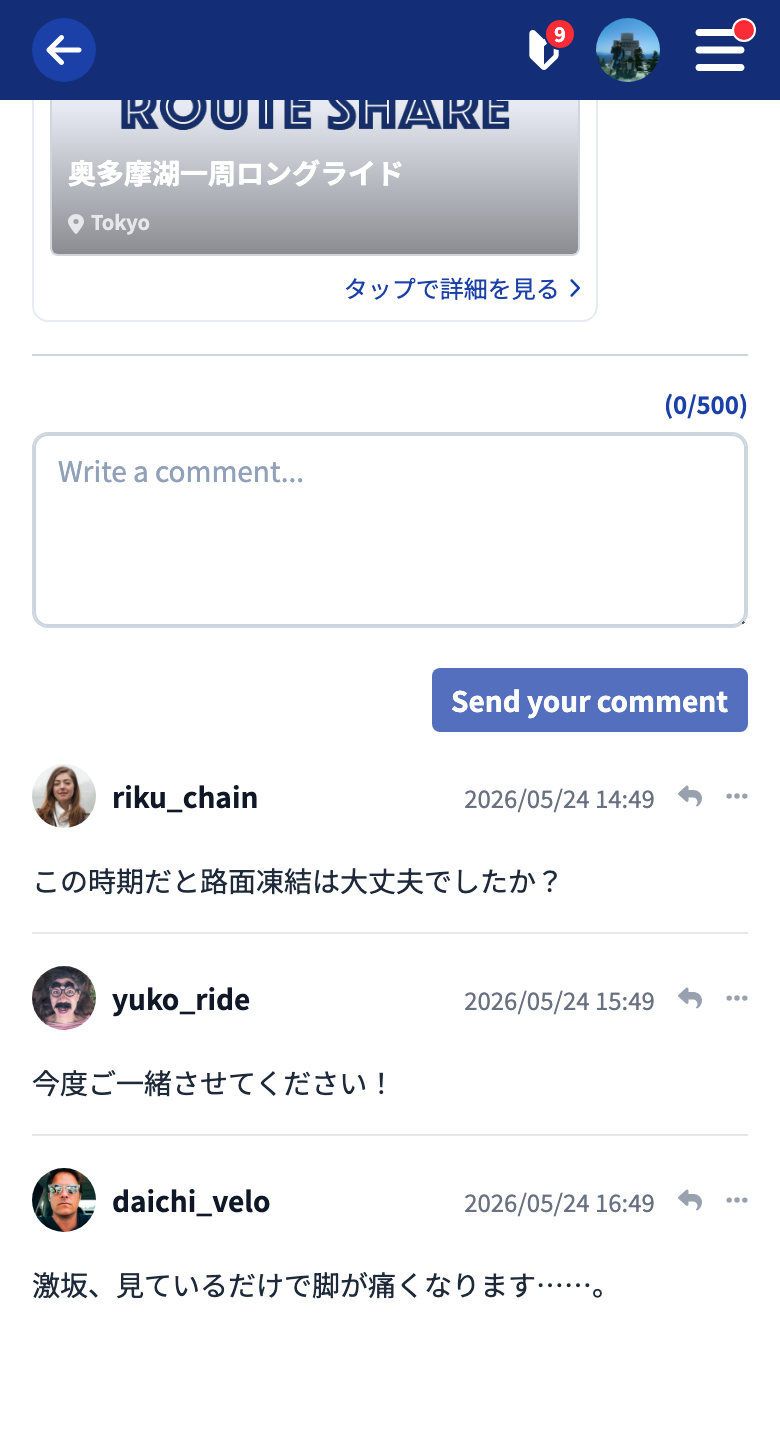
Comment on posts and exchange replies to share memories and information about touring and travel with all kinds of people. RouteShare is a community connected through maps and text.
Tutorials
- Quick Start
Getting started with RouteShare
- Explore
List, map, and article views
- Account
Sign up, login, profile, settings
- Create
Quick posts, touring posts, gadget articles
- Planning
Create, share, and copy touring plans
- Tracking
Recording and editing tracks
- Teams
Create and join teams, team posts and chat
- Actions
Likes, comments, follows
- Manage
Managing your posts