Using the Map Editor
The map editor is a tool for placing spots and routes on a map in a touring post. You can register any point as an “object” and introduce it with a description and photos.
In a quick post, you can use it just to optionally add a single spot. Gadget info has no map feature.
The Editor’s Structure
The map editor consists of three areas: 1. Layers / 2. Map / 3. Action buttons.
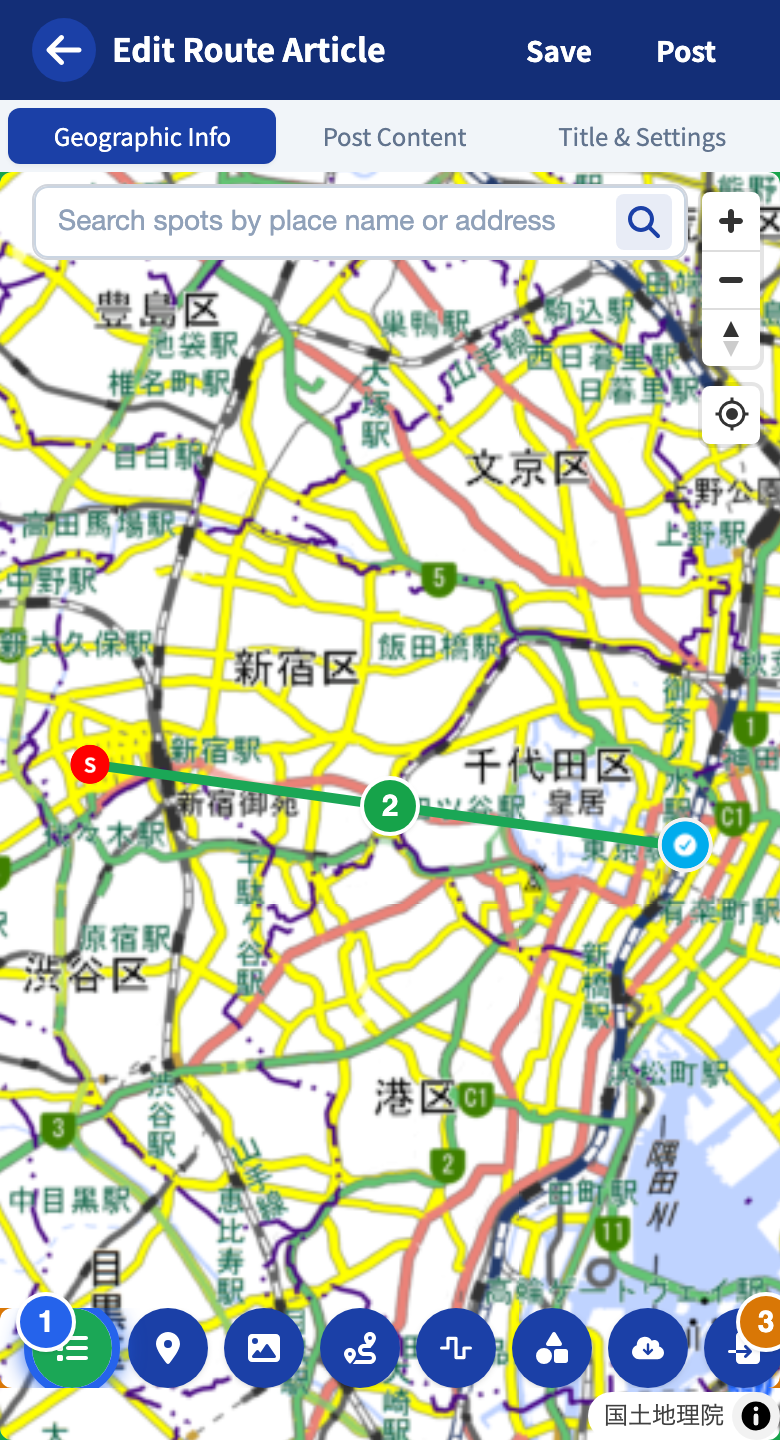
The basic flow for adding an object is three steps.
- Tap the type you want to add with the action buttons.
- Tap the map to draw a spot, line, or shape. Guidance is shown at the top of the map.
- Confirm the addition with , or cancel with .
You can edit an added object by tapping it on the map. You can change its name, description, and image, change its color and icon, delete it, and more, right there. For details, see “Editing objects again” below.
Operating the Map
- Move: drag with one finger in the direction you want to move.
- Zoom: spread / pinch two fingers.
- Rotate / tilt: twist with two fingers / swipe up and down.
- PC: drag to move,
Ctrl(⌘on macOS) + wheel to zoom.
Measuring Distance (Ruler)
You can measure the distance between two points on the map, or along a path you trace. The measured line is never saved to your post. No spots or lines are added, so you can use it freely while you are still working out a route.
- Tap to start measuring
- Tap the map to place a point. Keep tapping to measure along a path
- The measured distance appears at the bottom left of the screen, and the same distance is shown at the end of the line
You can adjust the points afterwards.
- Drag a point to move it
- Tap one of the small points along the line to insert a point there
- undoes the last action (adding, moving, or inserting a point)
- finishes measuring and clears the line
Tick marks cross the line at regular intervals, each labelled with the distance from the start. The interval switches automatically to suit the map’s zoom level.
The ruler is not limited to editing. You can also use it on the map while viewing a touring post or a touring plan.
Objects You Can Add
You can add the following 7 types of objects.
- Spot
- Line
- Navigation line
- Recording line
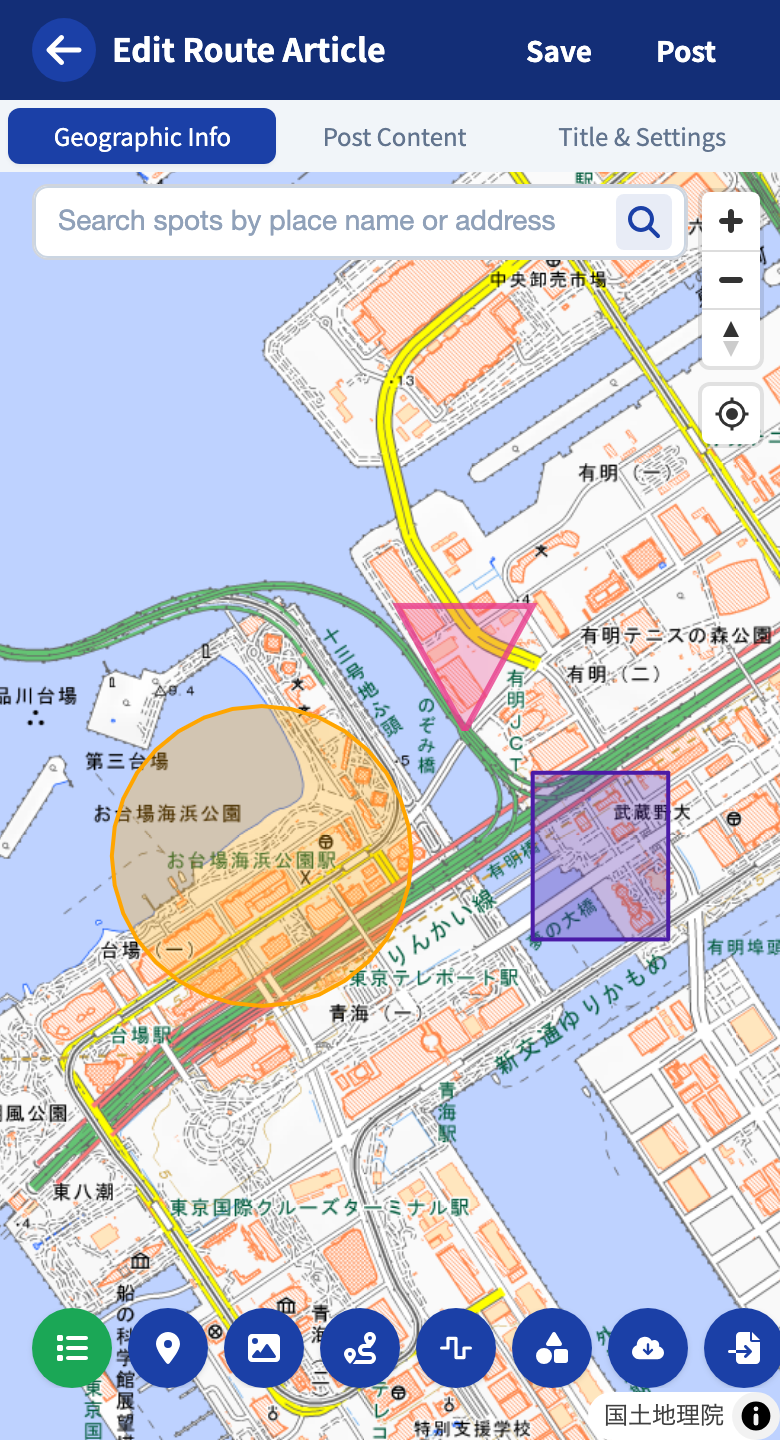
- Circle
- Square
- Custom polygon
You can give any object a name and description, and attach up to 10 photos.
Besides this, you can import spots and lines in bulk from GPS recorded in the smartphone app, or from a GPX / KML file you have.
Spot
An object representing a single point on the map. You can change its position by dragging.
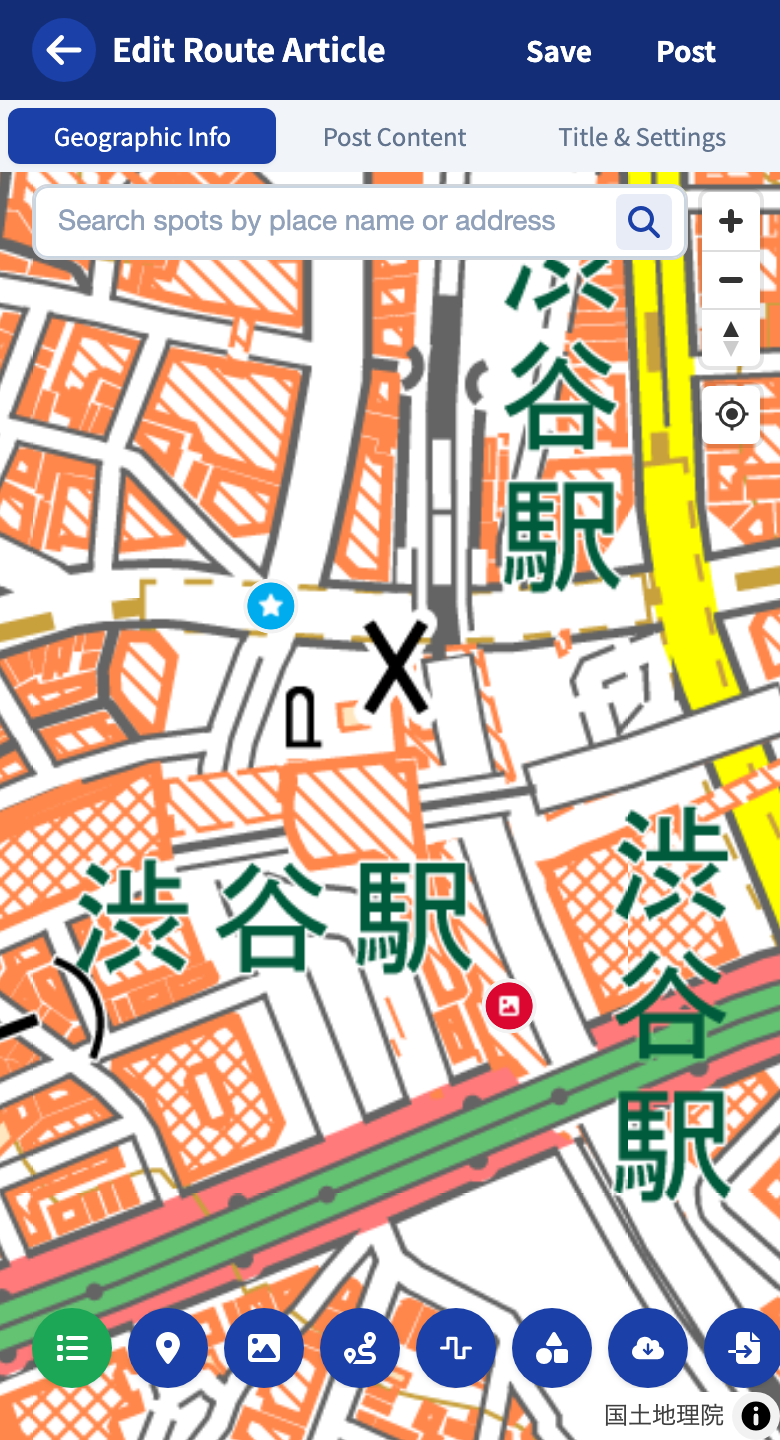
Adding a Spot from a Photo
Tapping the photo button opens a screen for choosing how to add it, letting you create a spot directly from a photo.
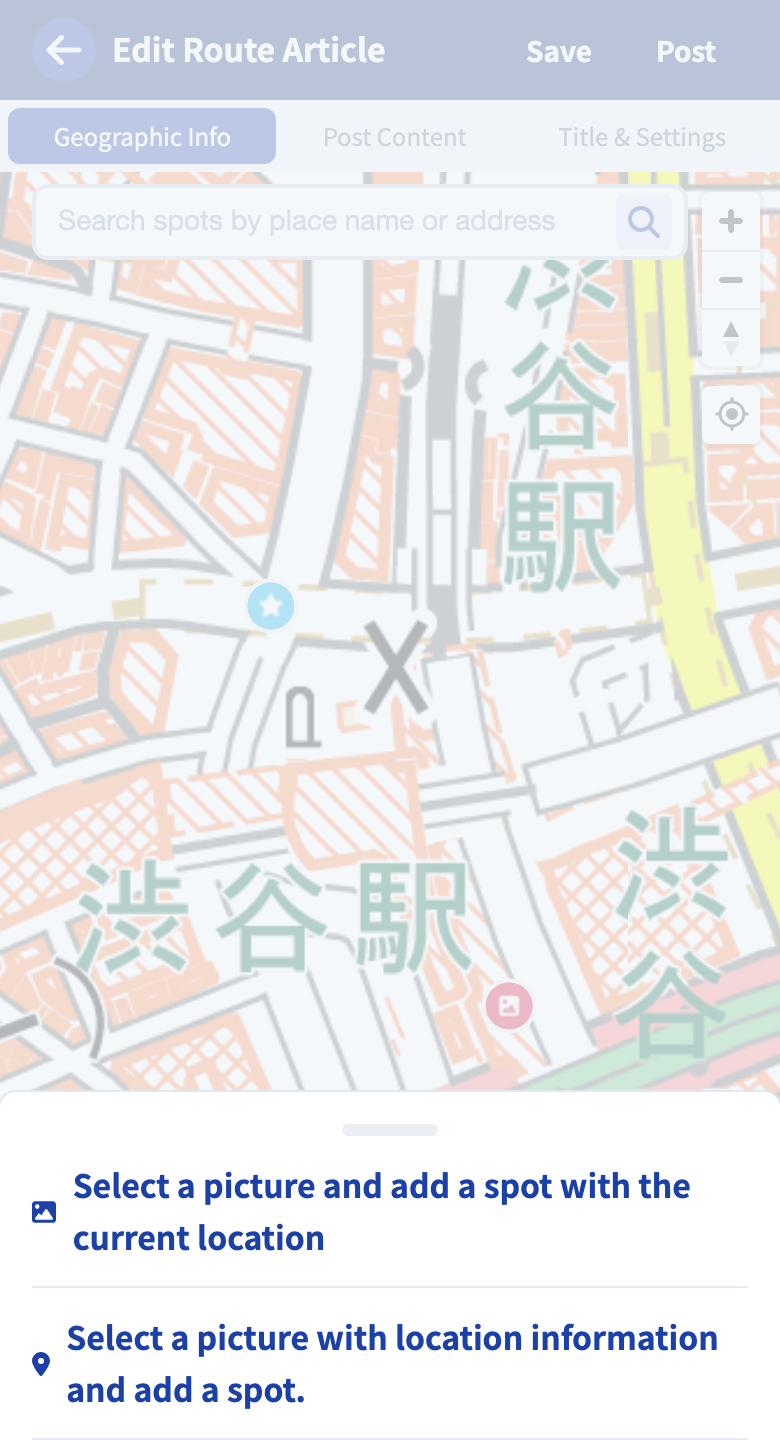
- Add to current location from the album — choose a photo from the album and create a spot at your current location.
- Analyze location from the album and add — read the geographic information (Exif) recorded in the photo and create a spot at the shooting location.
When a photo has no geographic information, use the method that adds at the current location. In the app, you can also take a photo with the camera and add it directly at the current location.
Line (Free Line)
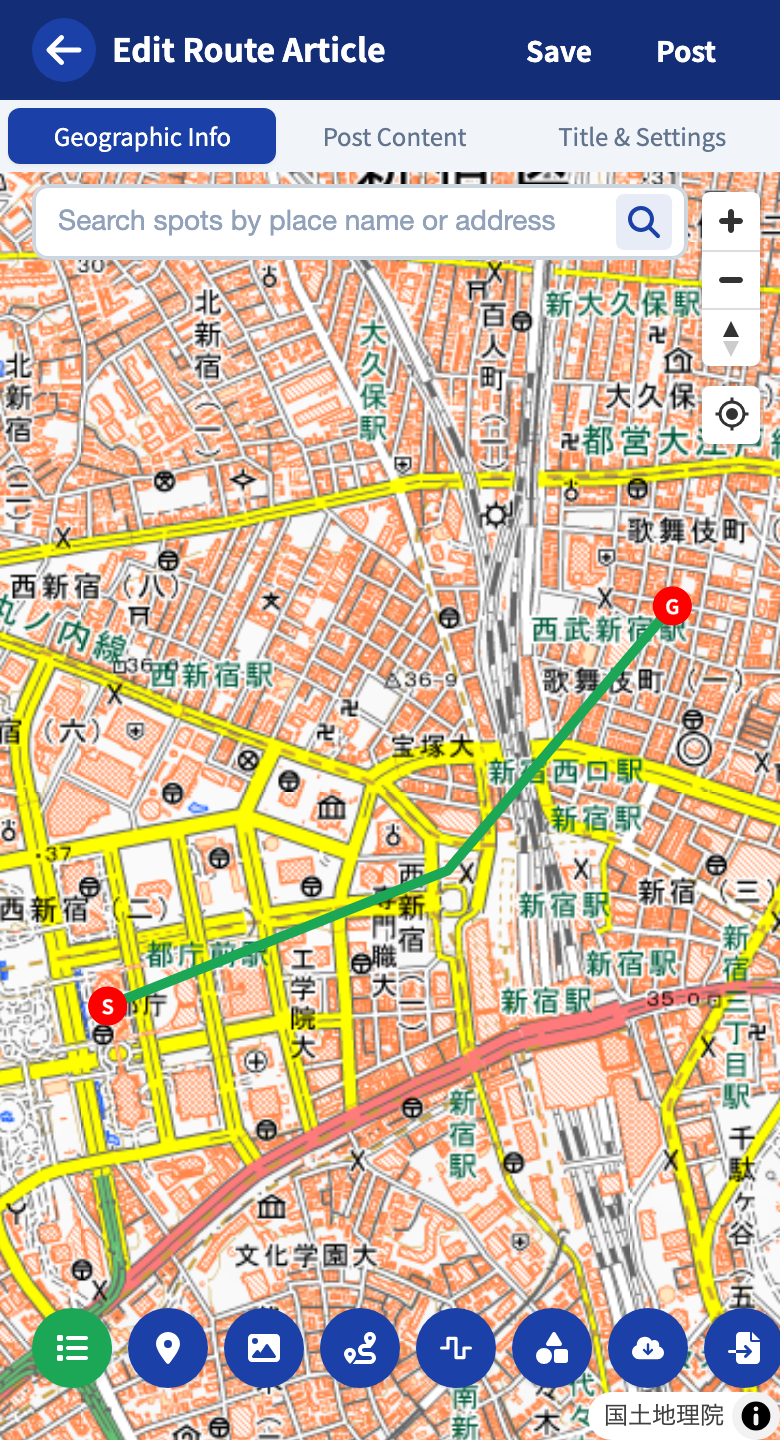
Specifying points in order draws a line connected by straight segments. Dragging the white dots along the way lets you change the position afterward.
Navigation Line
Specifying a start and end point automatically searches for the roads between them and lays a line. You can also set waypoints.
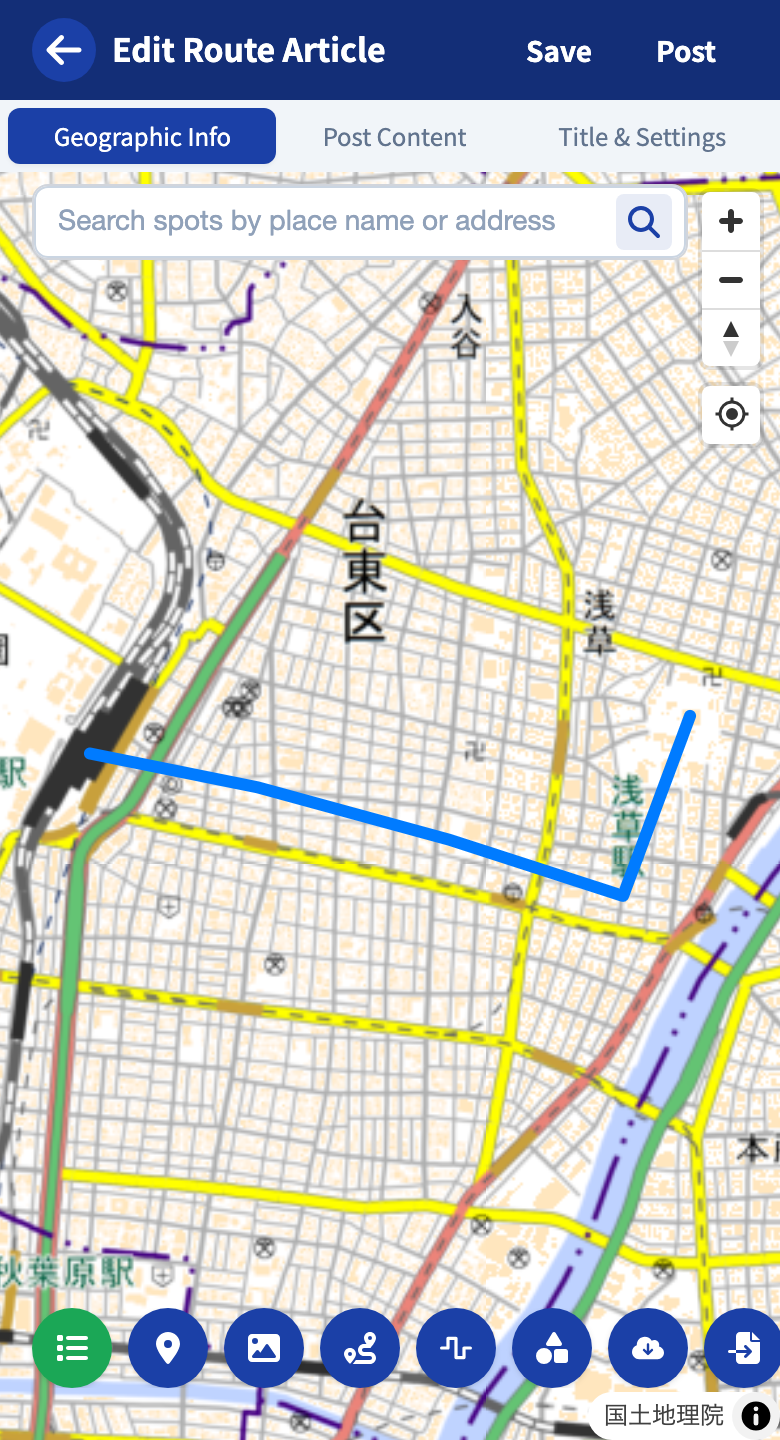
You can choose from 3 modes of transport.
| Mode | Use |
|---|---|
| Car (driving) | A car-oriented route including highways and motorways |
| Pedestrian (walking) | National roads, town streets, mountain trails. For walking and hiking |
| Bicycle (cycling) | A route optimized for bicycles |
When a Route Isn’t Found
- Pedestrian is easier to find than car.
- Reduce the number of waypoints.
- A road closure may make the search impossible.
Recording Line
You can import a GPS track recorded in the smartphone app into your route. Tapping the button opens the list of records, and the chosen record is added to the map as a line that is exactly the trail you actually rode. For how to record, see Tracking.
Adjusting Unwanted Sections
You can tidy up an imported recording line by specifying a section on the edit screen. Tapping the line, or specifying a start and end point with the slider, shows that section in color. Since a recording line is your actual trail, you can edit sections, but you cannot add or move points to change the route, as you can with a line or navigation line.
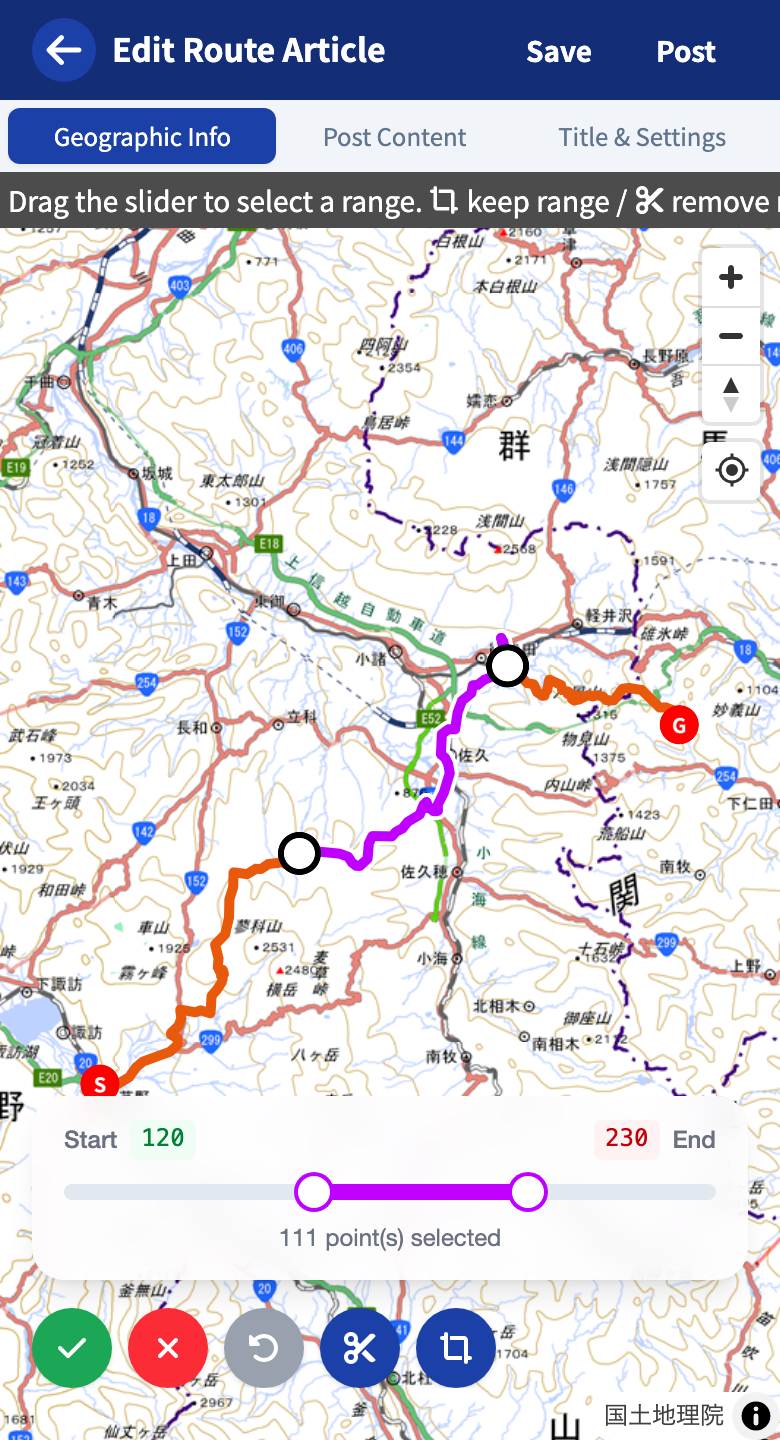
- Delete section — removes the chosen section.
- Keep only the section — keeps only the chosen section and removes the surrounding parts.
Use section deletion in cases like these.
- Delete a section near a private place such as your home.
- Delete an unwanted section.
Undo lets you go back one step. When you’re done tidying up, confirm with .
Circle
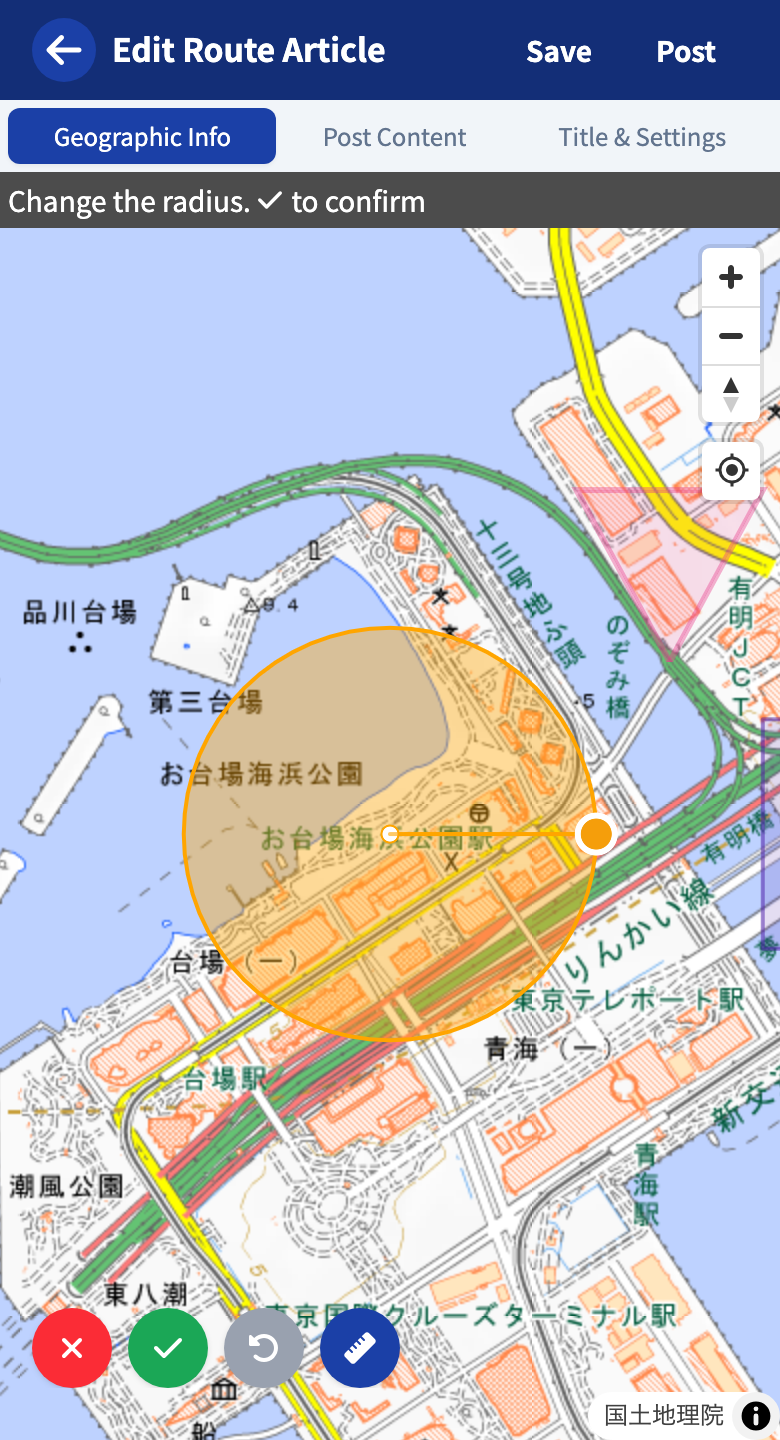
A circle whose center position and radius you can set freely. Move it with the white dot at the center, change the radius with the white dot on the edge, or enter a numeric value directly.
Square
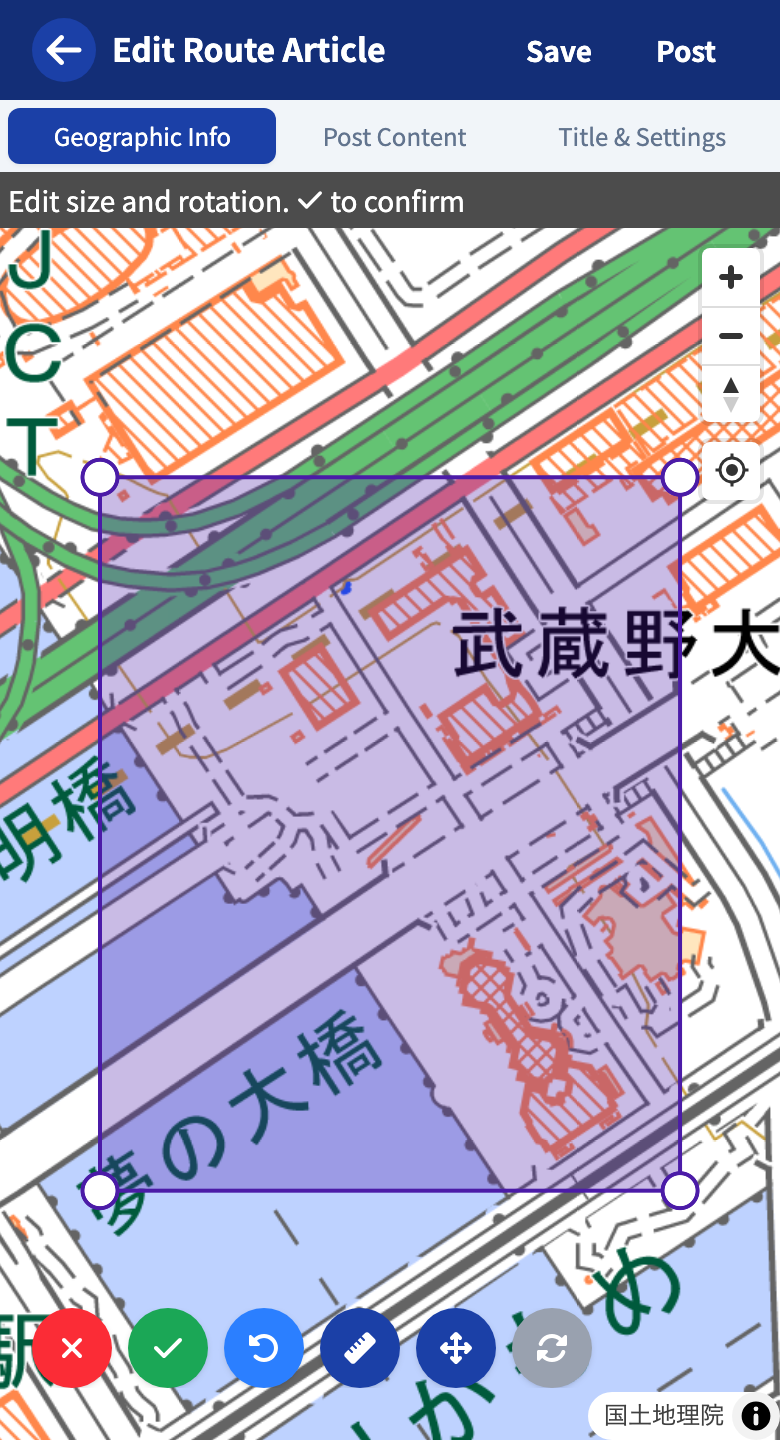
You can draw a square with any width and height. Each side is in the range 10 m to 100 km. You can specify the east–west and north–south widths directly by value.
Custom Polygon
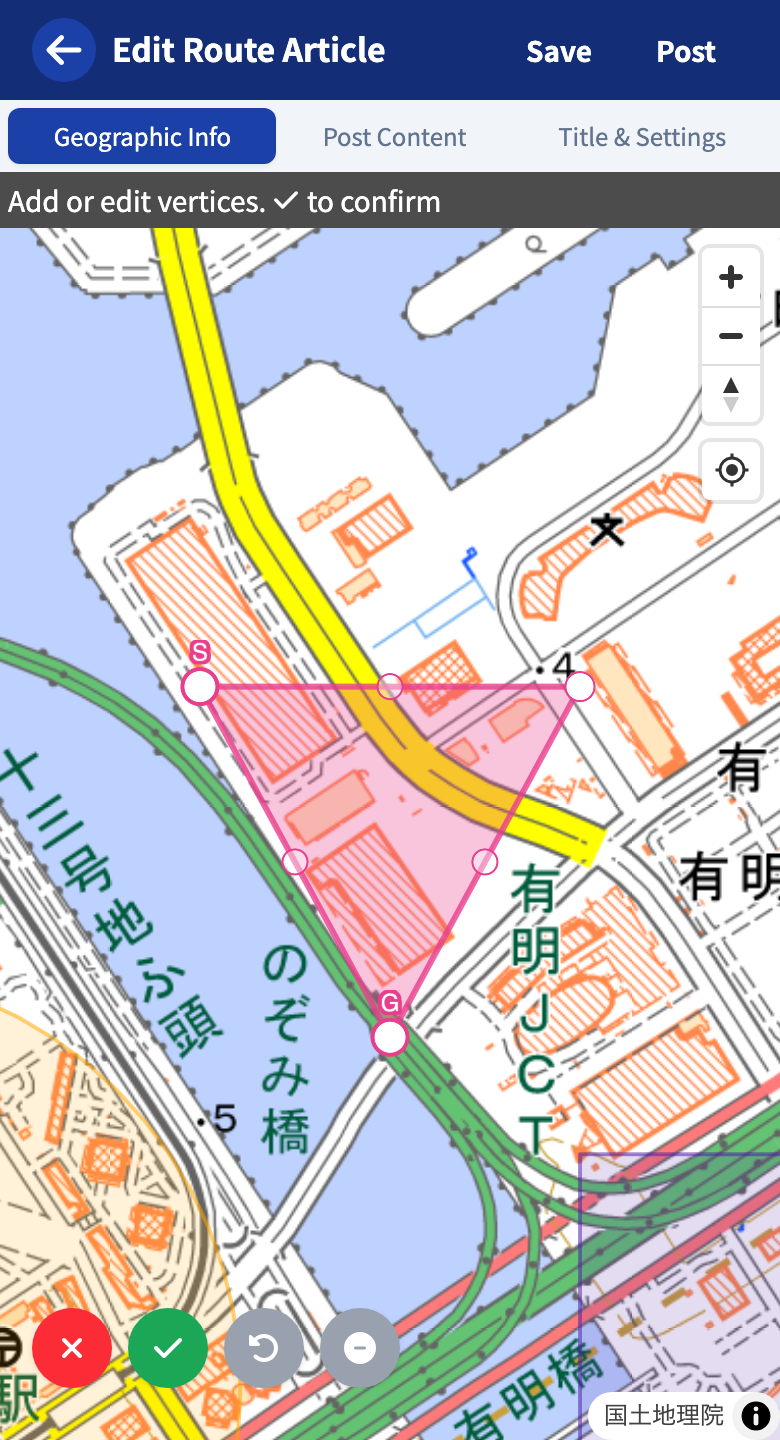
You can create a complex shape with 3 or more vertices. Tapping the start point closes it.
Importing from a File (GPX / KML)
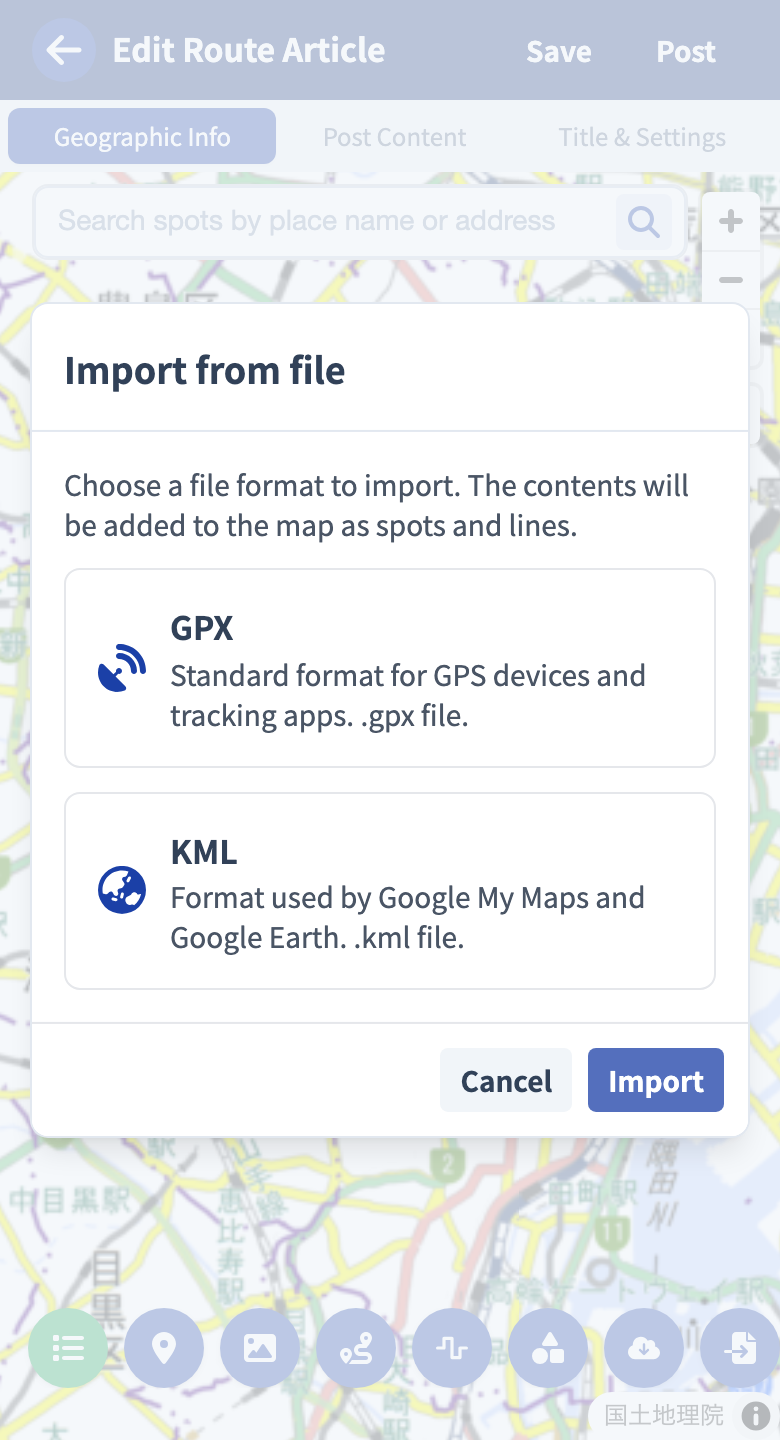
From the file import button, you can load a GPX (the standard format for GPS devices and tracking apps) or KML (the format for Google My Maps and Google Earth) file you have.
- Choose the file format to import (GPX / KML).
- Choose a file from your device.
- Check the number of spots and lines to be imported, and run the import.
Points contained in the file are converted to spots, and trails to lines, and added to the map. Use it when you want to bring routes made in other apps, or logs you recorded in the past, into a RouteShare touring post.
Editing Objects Again
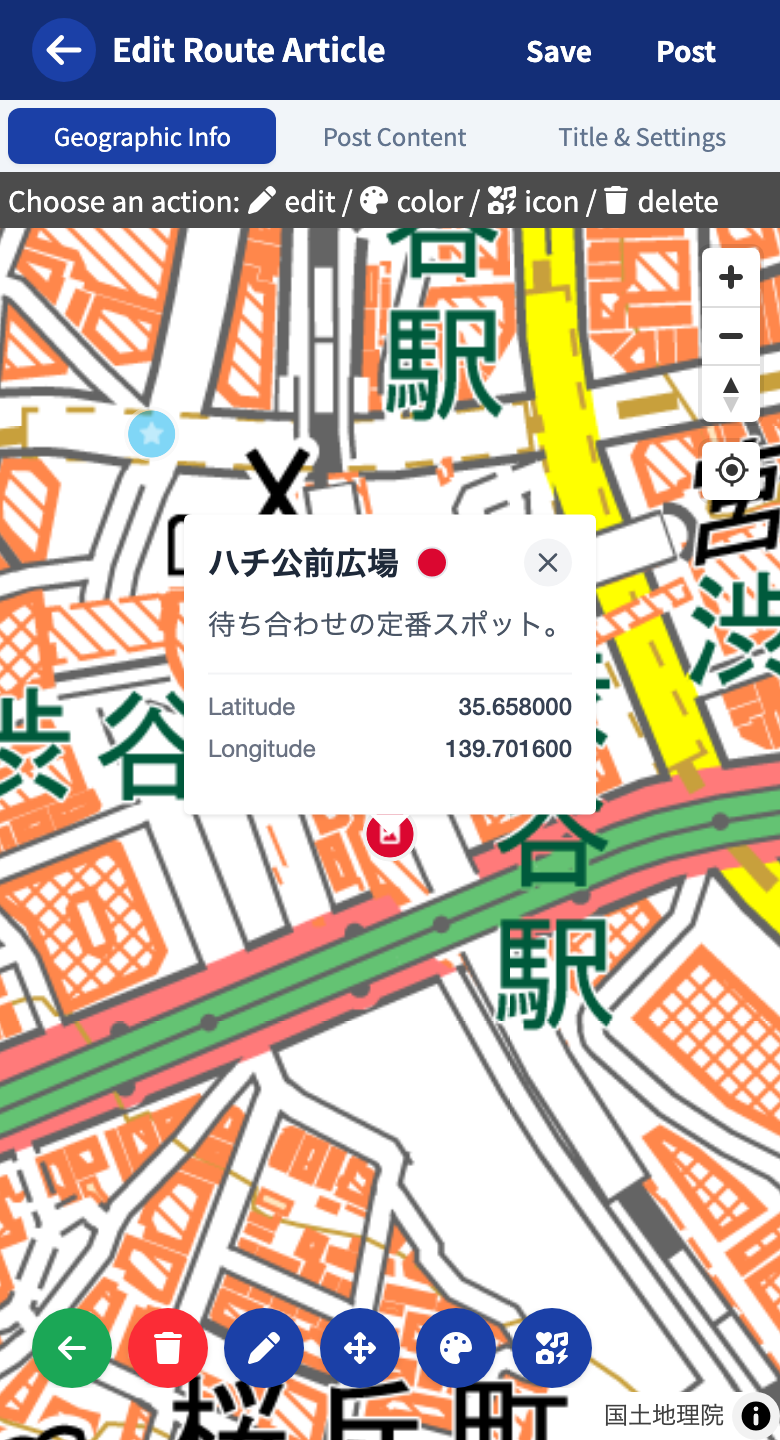
Tapping an object on the map opens an action menu at the top of the screen. From here you proceed to each operation. The available operations vary by object type.
Changing the Name, Description, and Image
Tapping Edit opens an edit screen where you can rewrite the name and description and swap the image.
Changing the Color
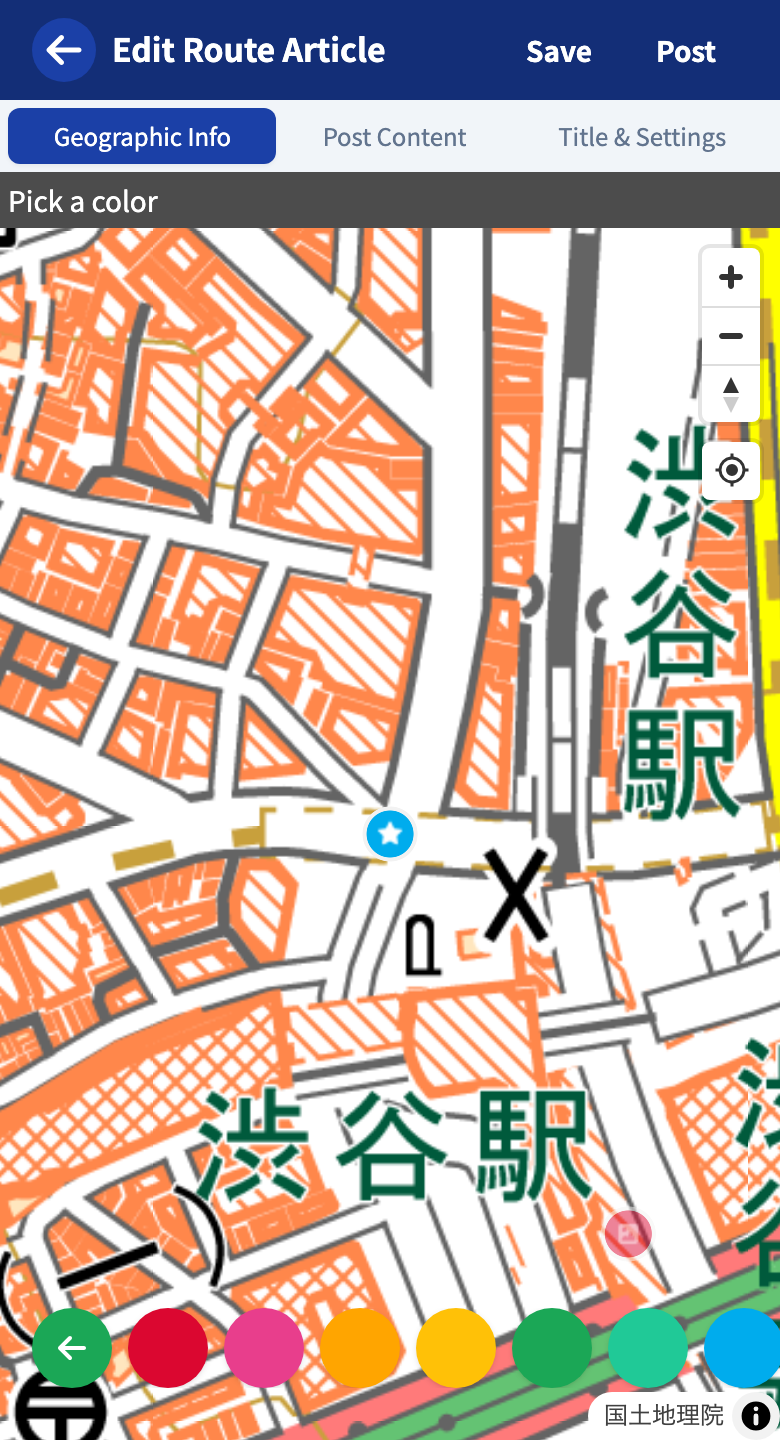
Tapping opens a list of colors, and the color changes just by choosing one. You can change it for all objects.
Changing the Icon (Spot)
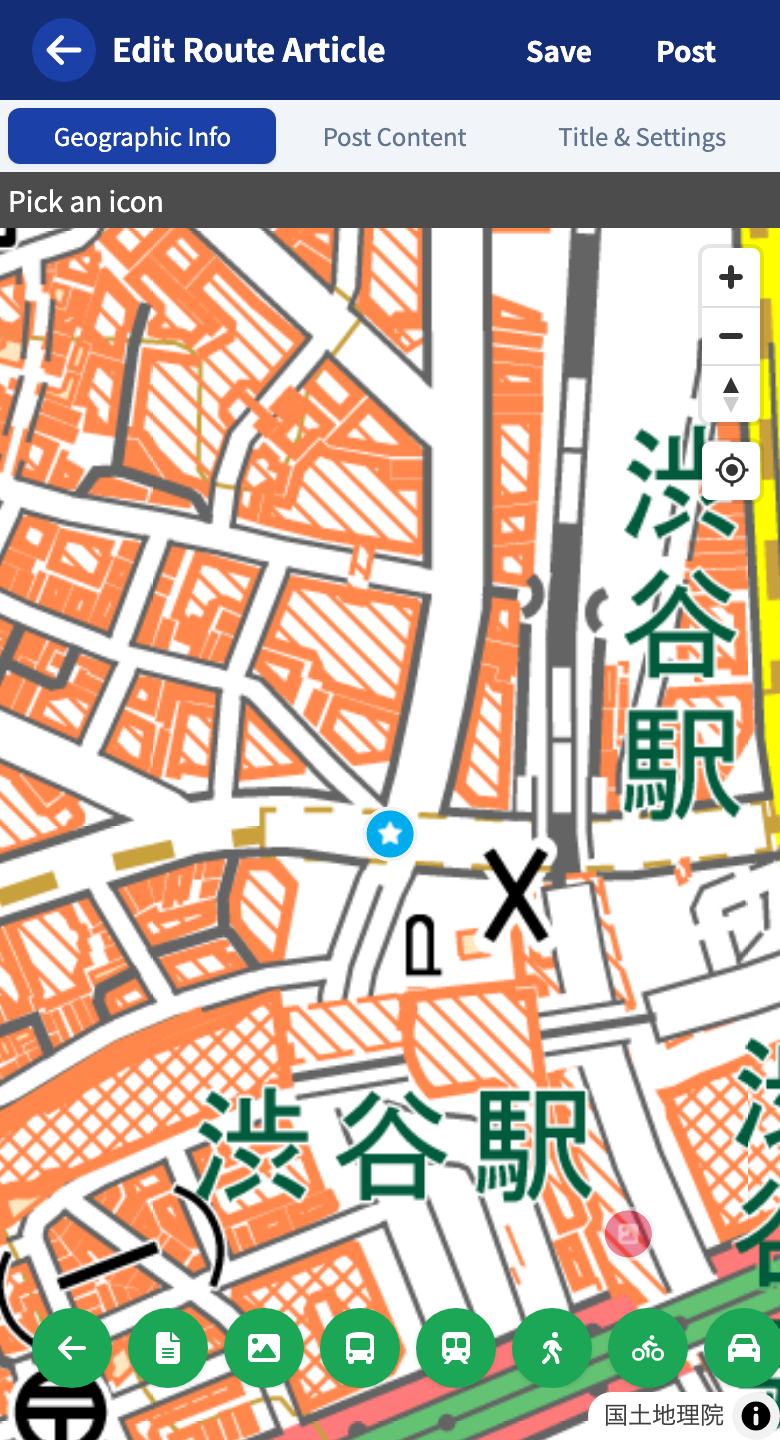
For a spot, you can choose an icon from .
Moving the Position (Spot)
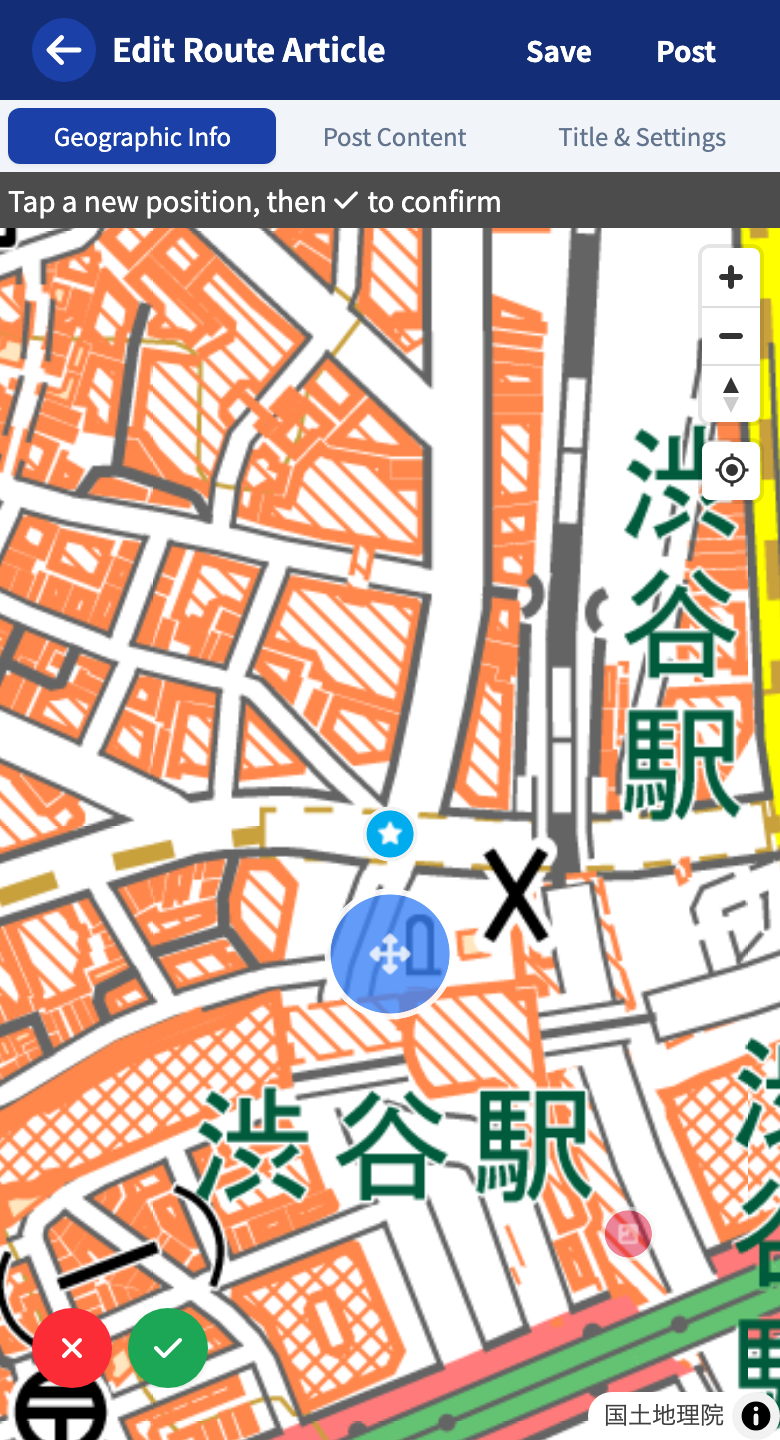
When you choose Move, the spot moves to the place you tap on the map. Confirm with .
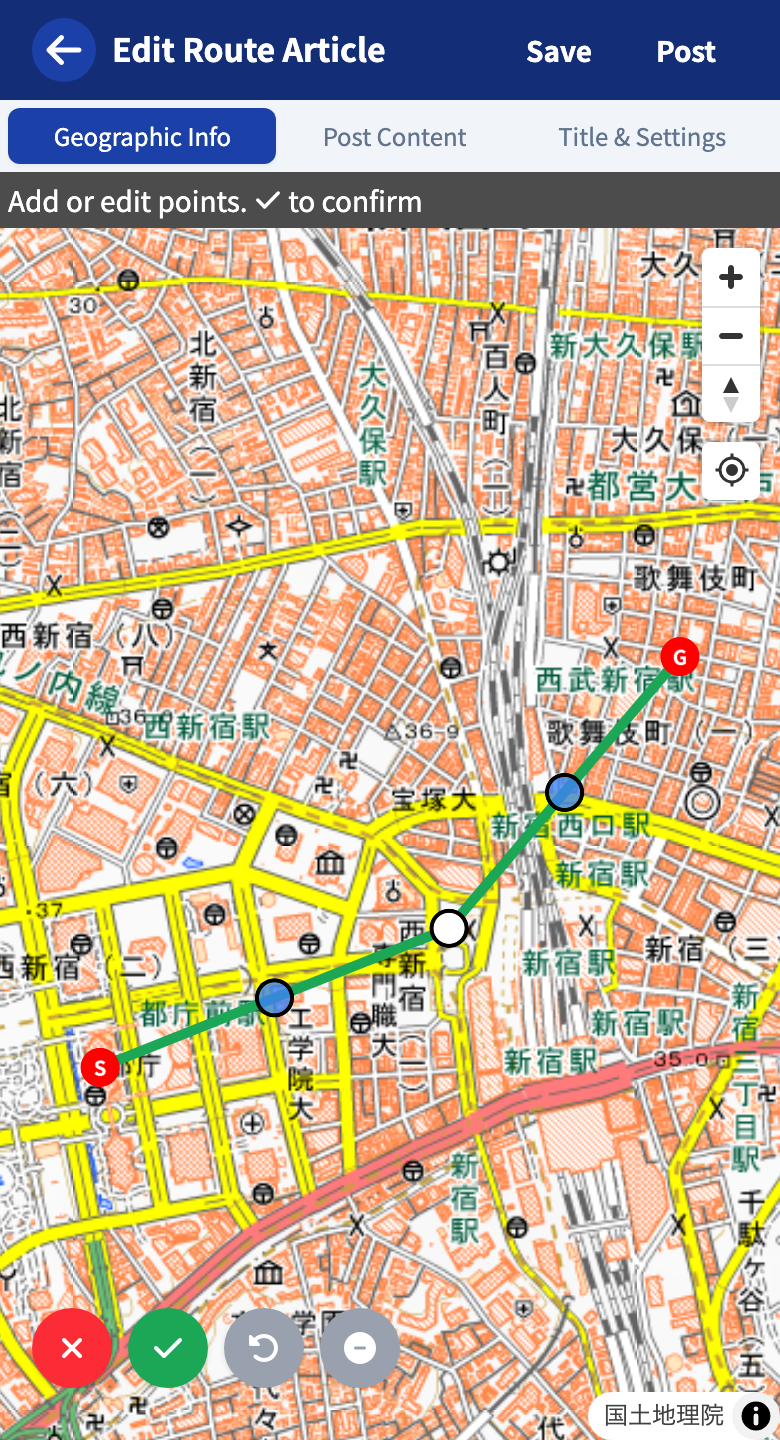
Editing Waypoints and Vertices (Line / Navigation Line / Custom Polygon)
You can add and move points along the way. Drag the white dots to shape it.
You can edit a custom polygon’s vertices in the same way.
Changing the Radius (Circle)
You can change the radius by dragging the handle on the edge, or by specifying a value.
Changing the Size and Rotation (Square)
You can change the east–west and north–south widths and the rotation.
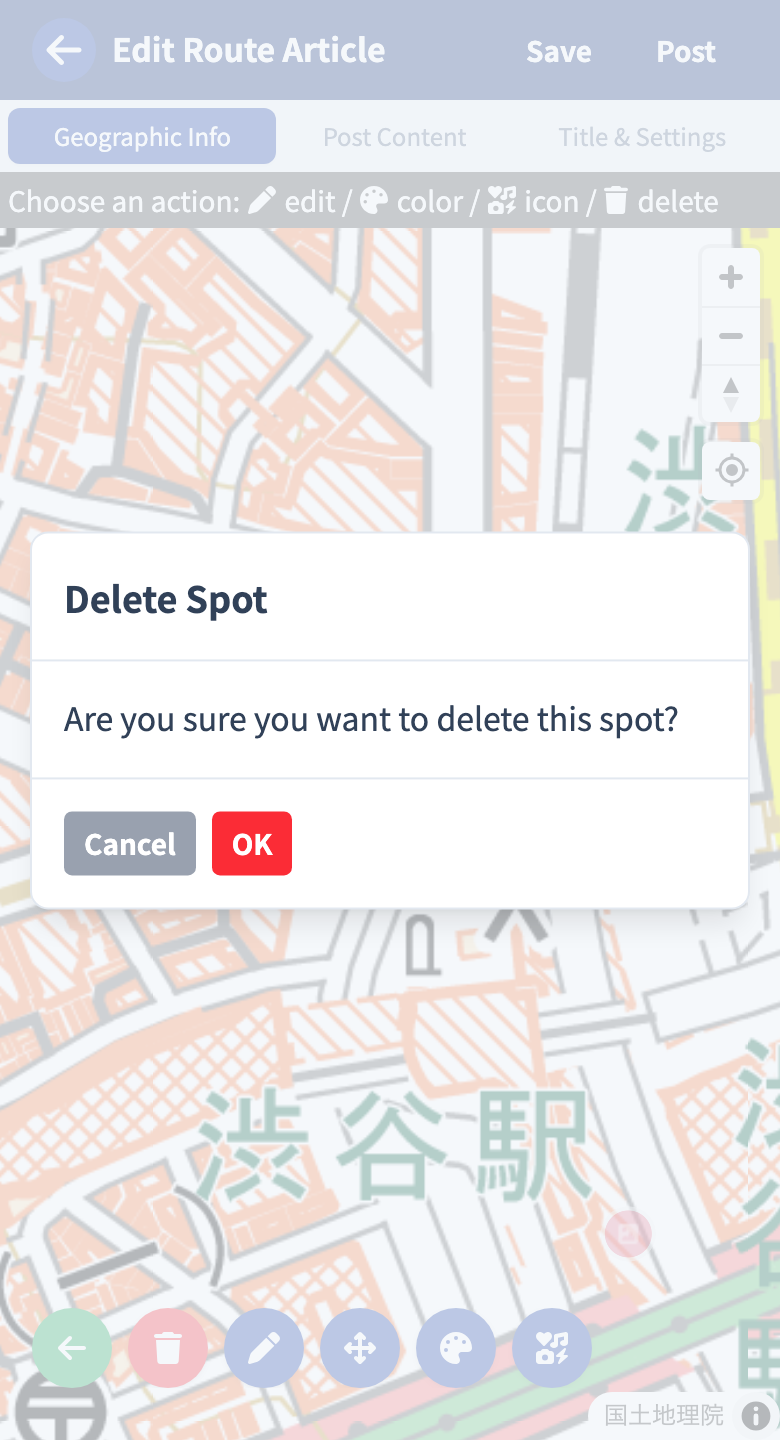
Delete
Tapping shows a confirmation screen, and confirming deletes it.
Layers
You can sort objects with layers.
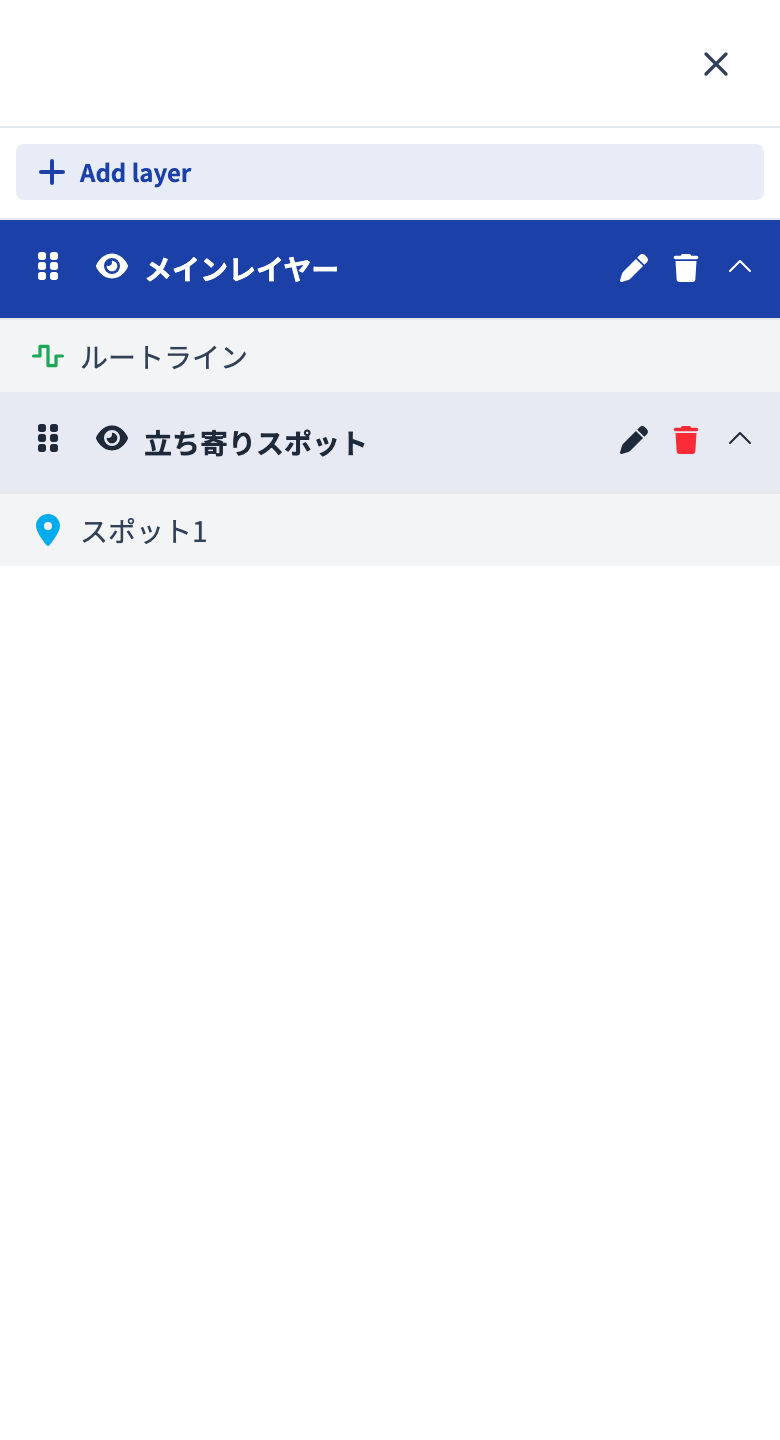
- Rename or delete from to the right of the layer name (blue background).
- Note that deleting a layer also deletes all objects belonging to it.
- You can reorder objects by drag and drop, and change which layer they belong to by dropping them onto another layer.
Tutorials
- Quick Start
Getting started with RouteShare
- Explore
List, map, and article views
- Account
Sign up, login, profile, settings
- Create
Quick posts, touring posts, gadget articles
- Planning
Create, share, and copy touring plans
- Tracking
Recording and editing tracks
- Teams
Create and join teams, team posts and chat
- Actions
Likes, comments, follows
- Manage
Managing your posts