Recording and Managing
This page explains how to start and end tracking in the app. For an overview of tracking itself, see What is tracking?.
Opening the Tracking Screen
Open Tracking from My Page in the app. There are two tabs at the top of the screen: “Settings” and “Records.”
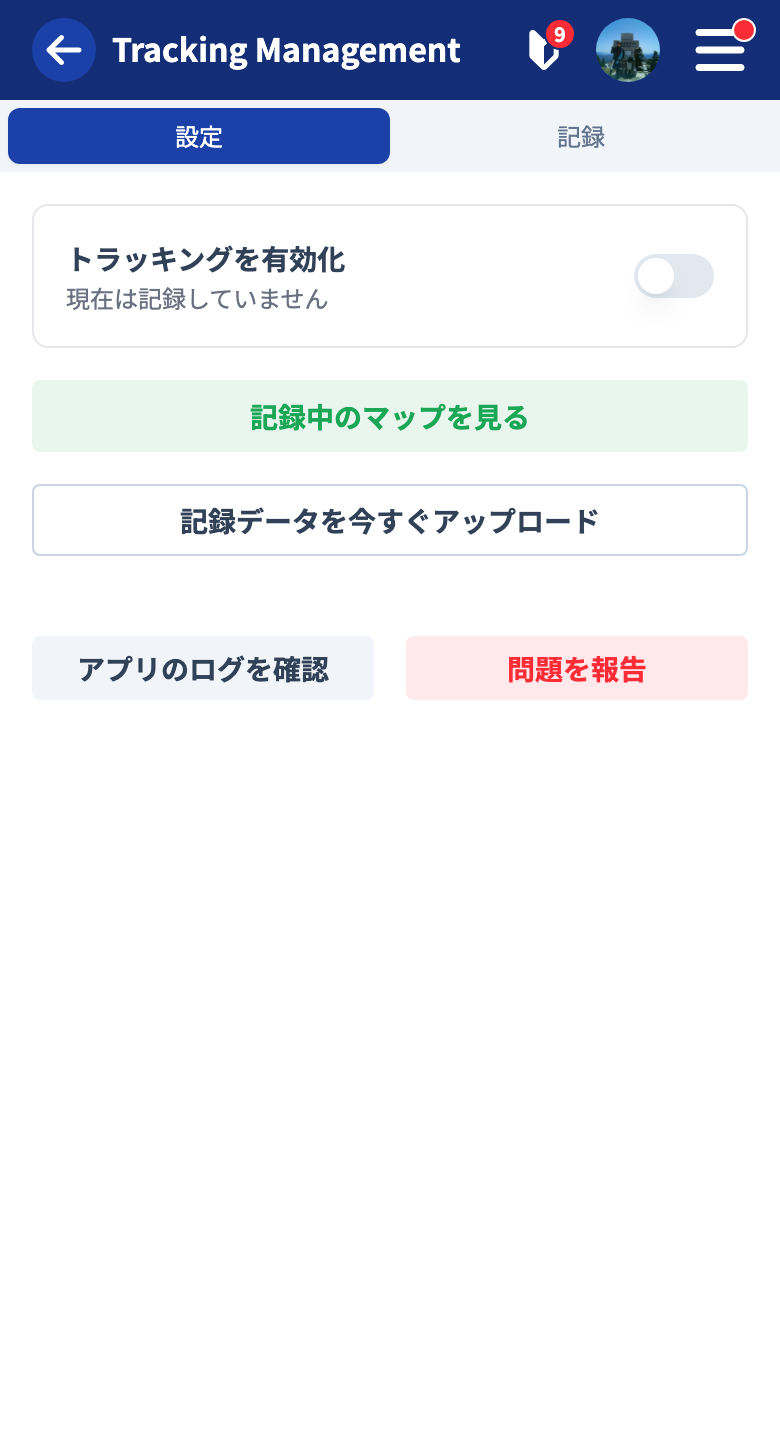
- Settings: permission checks, the enable switch, and the battery optimization warning
- Records: the list of records so far
1. Grant Permissions (First Time Only)
When you first open it, you are asked for location and background-operation permissions. The display differs by OS.
iOS
On the first prompt, choose “Allow While Using App.” On the next prompt, choose “Always Allow.” Choosing “Always Allow” lets it record in the background even while the app is closed.
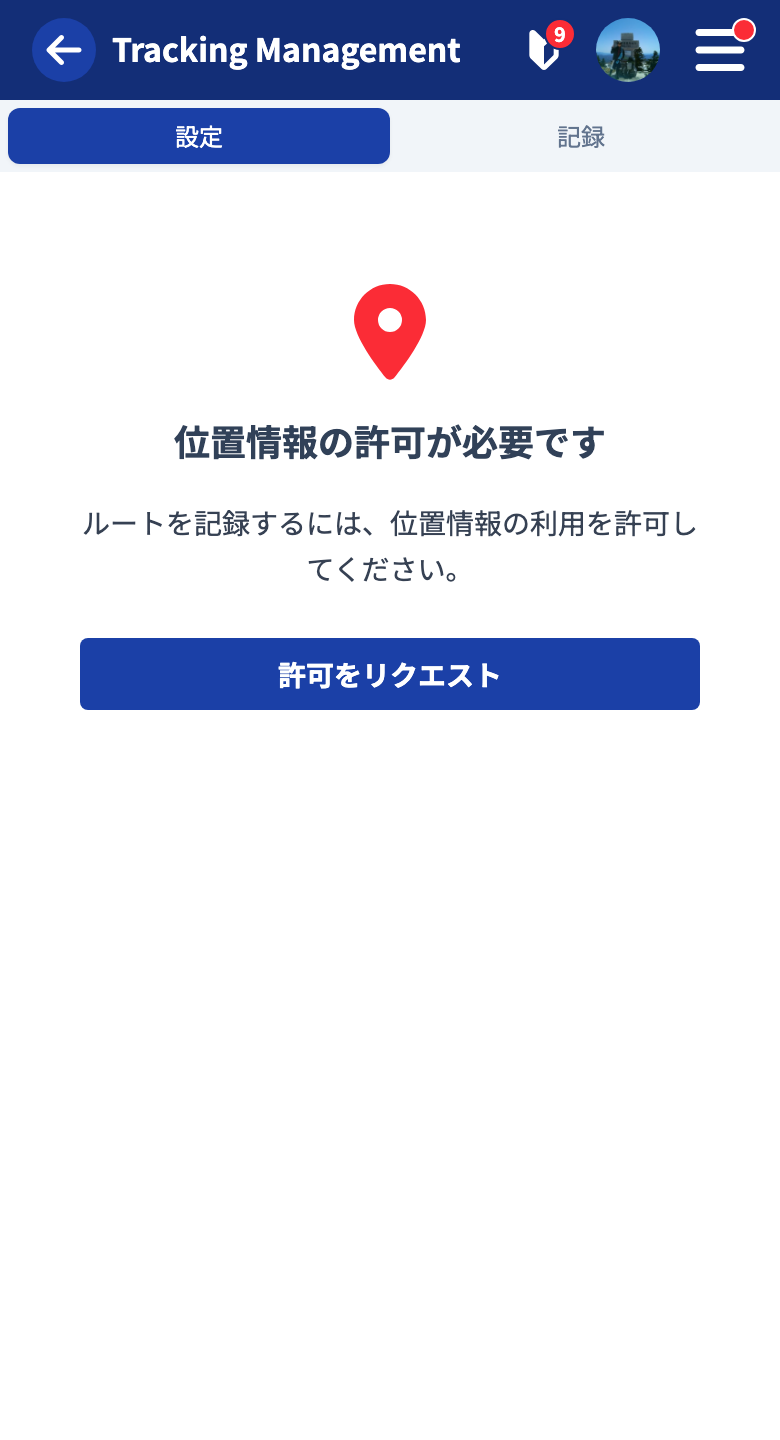
Android
A confirmation screen based on Google Play’s terms is shown. Choose “Agree.”
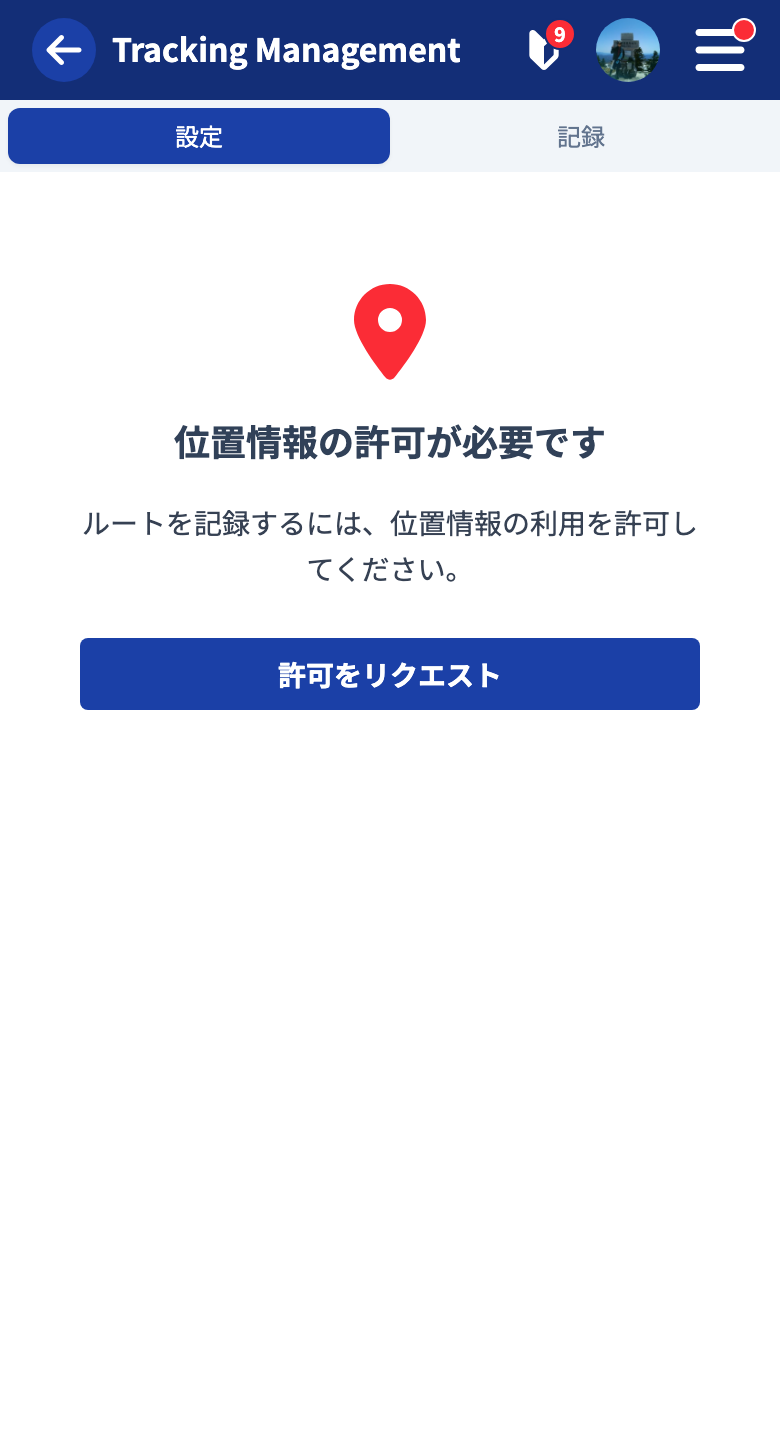
Then grant the following permissions in order.
- Location: set the accuracy to “Precise” and choose “While using the app.”
- Physical activity data access: “Allow” for detailed tracking.
- Background location: tap “Change to Always” → in device settings, “Allow all the time.”
2. Enable Tracking
Once the permissions are in place, a switch appears.
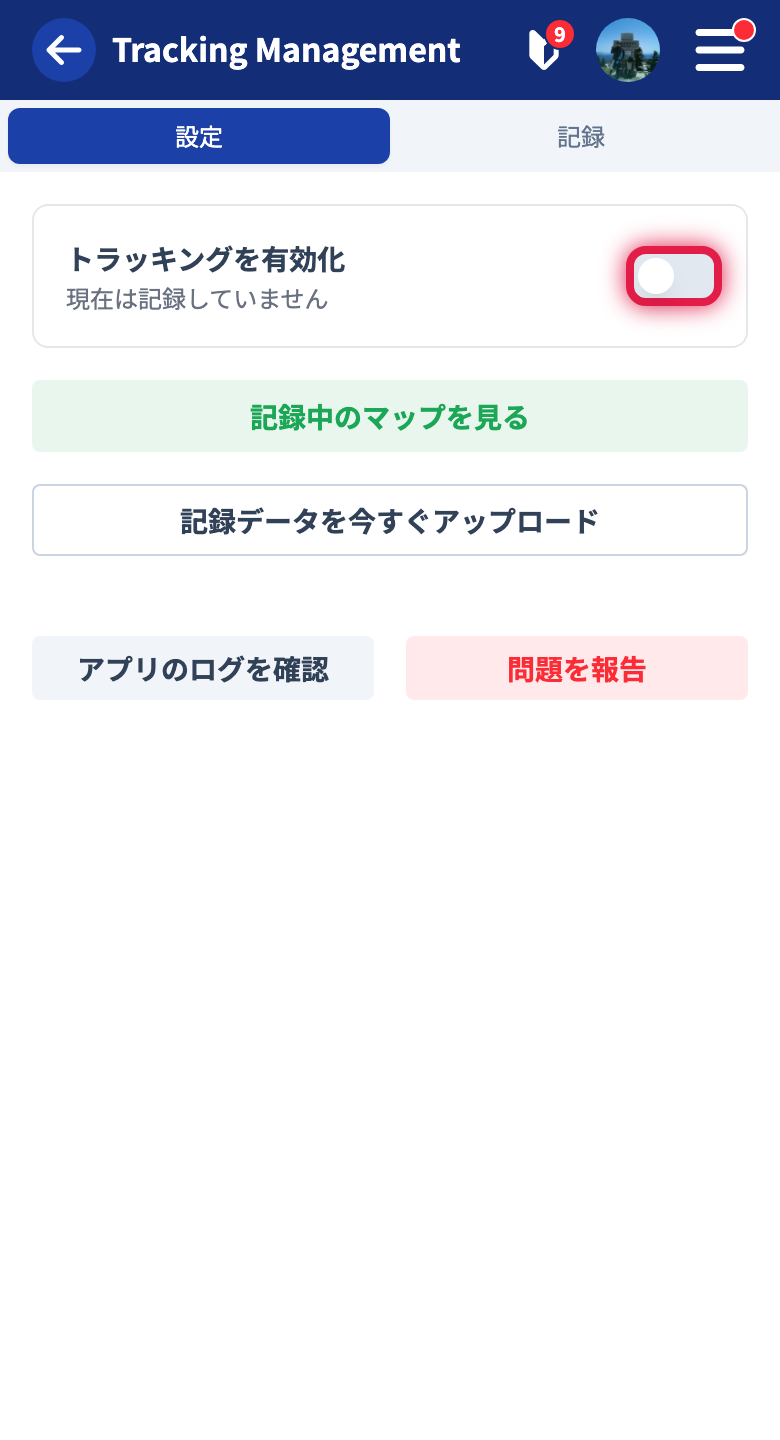
Turning on “Enable tracking” starts recording. Location is recorded continuously while the app is running.
An online environment is required to start recording.
Android: Disable Battery Optimization
On Android, if battery optimization is on, the OS may stop background recording when the screen is off. When a warning appears on the Settings tab, exclude the app to record reliably.
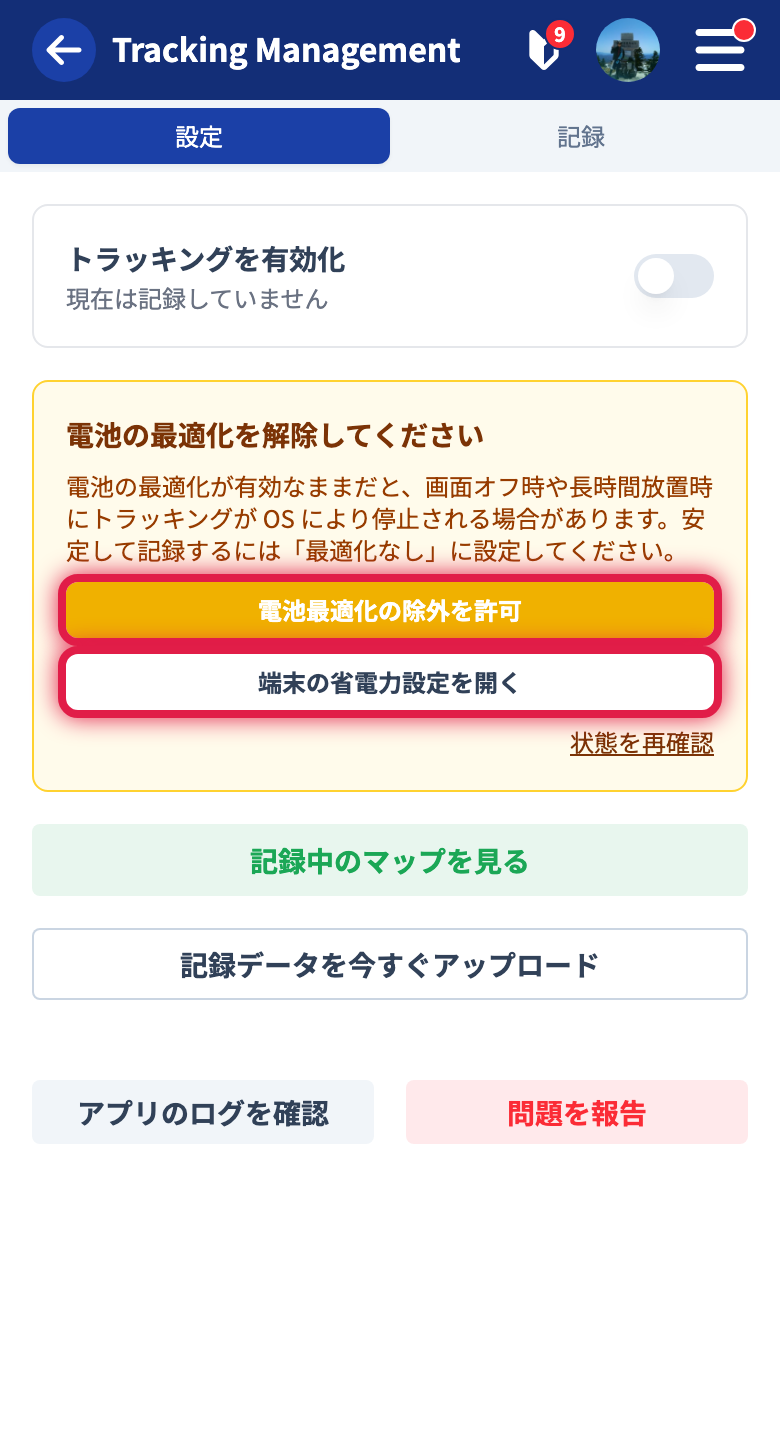
- Allow exclusion from battery optimization — request permission from the device
- Open the device’s power-saving settings — go to the device settings app
3. Check What’s Happening While Recording (Phone)
Tapping “View the map while recording” shows the latest state of the trail you are currently recording on the map. Checking while recording is done in the smartphone app.
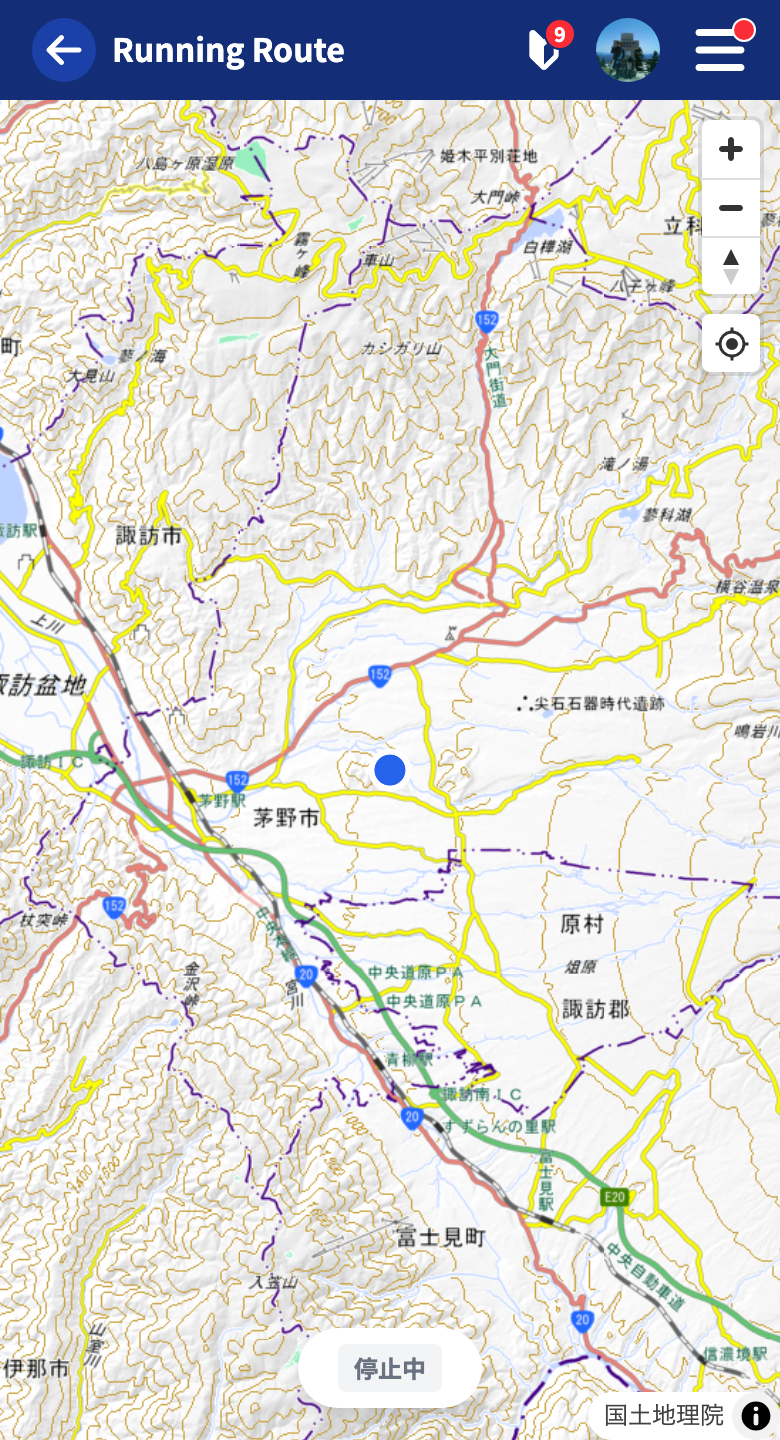
A recording / stopped status badge appears at the bottom of the screen.
Conditions for Continuous Background Recording
- The app has not been terminated
- The device is powered on
Recording is interrupted in the following cases.
- You terminated the app
- You powered off the device
After an interruption, reopen the app and enable tracking again to continue from where it left off. If recording breaks or isn’t kept, see When recording doesn’t work well.
4. End Recording
Turning off the tracking switch stops recording. The recorded data is saved to the server and becomes editable.
An online environment is required for the saving process. If you are offline, it is more reliable to stop after returning online.
Viewing Past Records (Records Tab)
The “Records” tab on the tracking page shows a list of the records you have made so far. You can check them from both a phone and a computer by logging in with the same account.
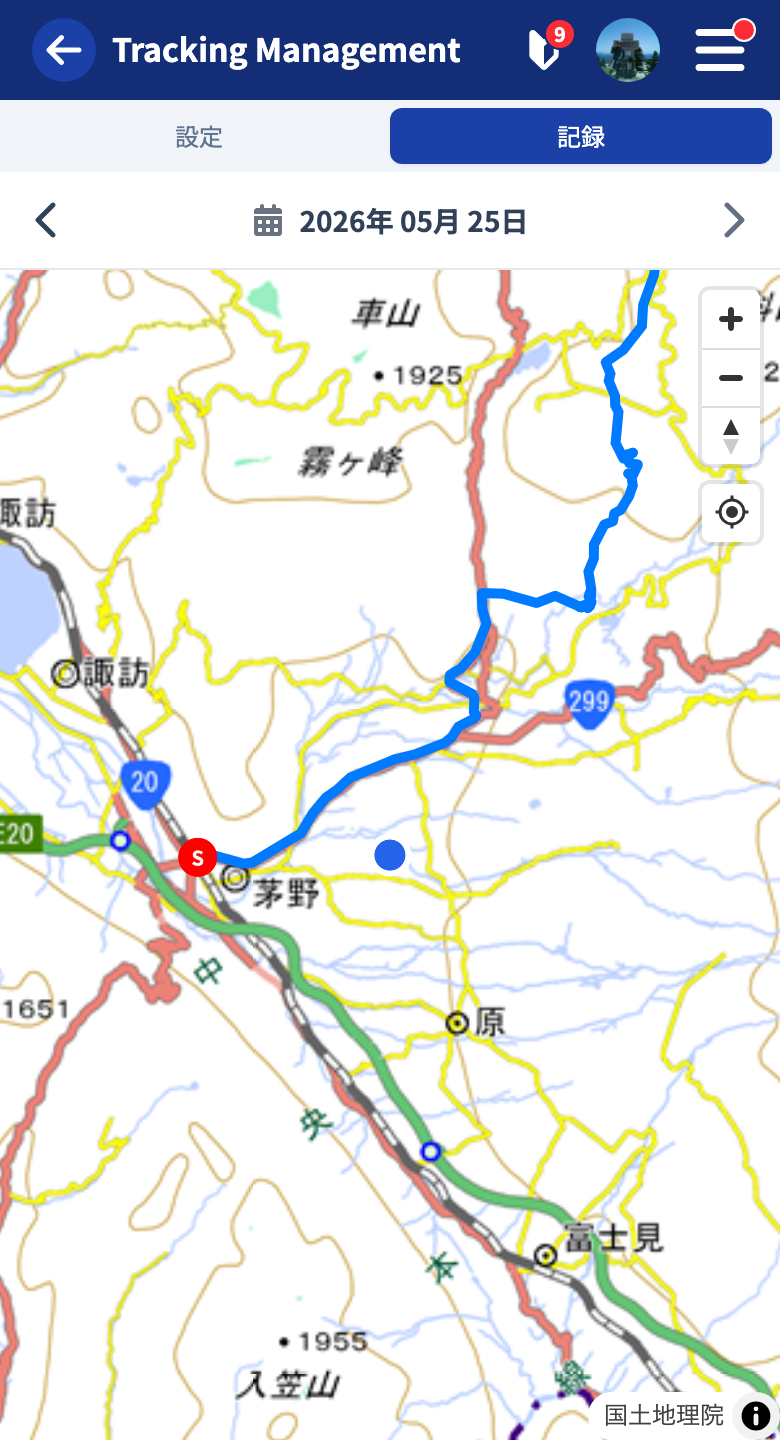
You choose a date and import a recorded trail from the map editor of a quick post or touring post (any record, current or past). You can import the same record into multiple posts. For the import and editing operations, see Importing records.
About Uploading
While recording, data is sent to the server automatically at specific times within the app (when a certain number of points have accumulated, when recording stops, when the connection is stable, and so on). Normally you can just use it as is with no problem.
When you want to send it to the server right away, you can upload it manually from the “Upload recording data now” button on the Settings tab.
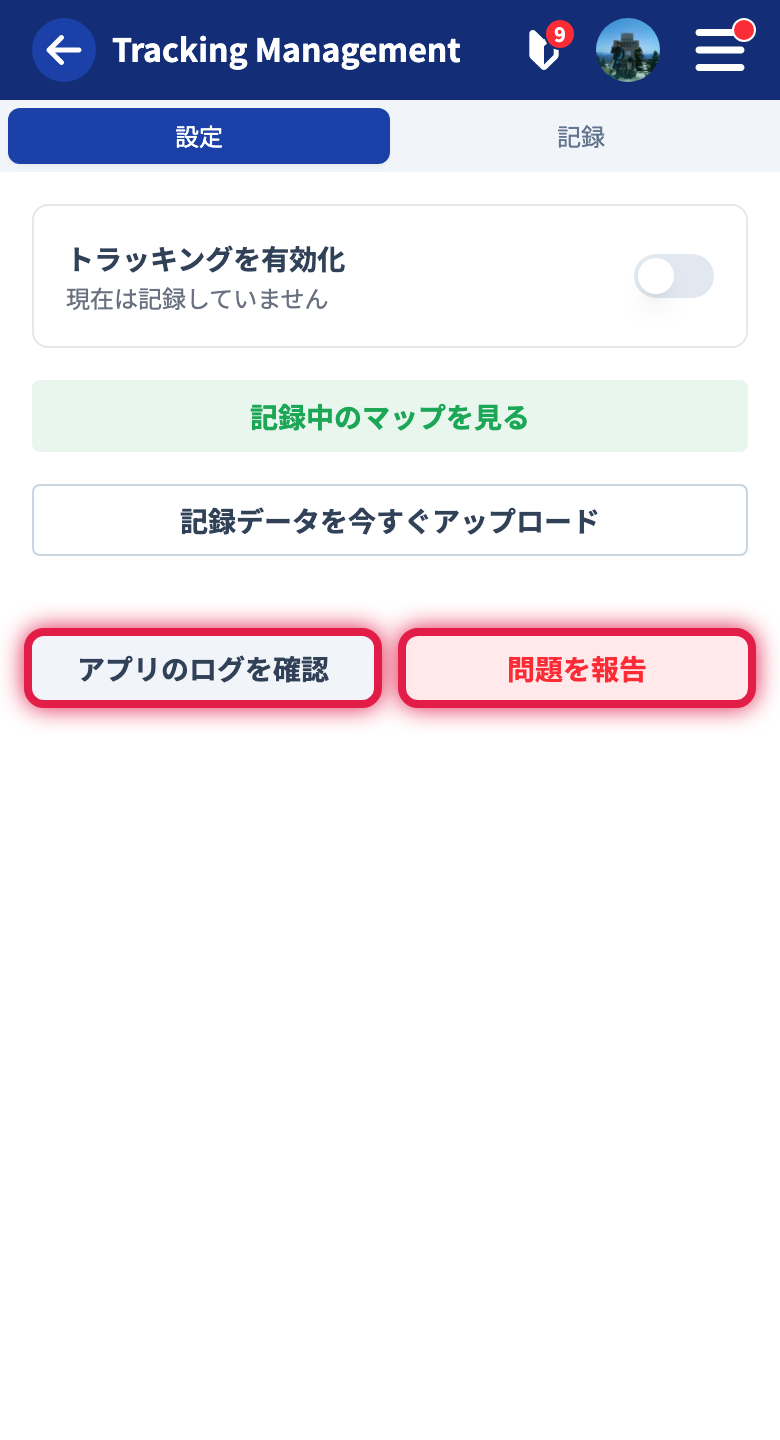
We recommend doing this in a stable connection environment such as your home Wi-Fi. If the connection is unstable, it may fail partway.
About Recording Accuracy
Since tracking mainly uses GPS signals, it can record without a problem even offline. However, because GPS signals alone have low accuracy, the position estimated from Wi-Fi or carrier networks such as 5G / 4G is used as a supplement to improve accuracy.
For that reason, accuracy and ease of recording vary by location.
- Places where neither GPS signals nor these networks reach well, such as underground — recording becomes difficult.
- Deep in the mountains and the like — accuracy tends to be relatively rough.
When Recording Doesn’t Work Well
Background recording is affected by OS settings. If recording breaks or isn’t kept, check the following for your OS.
iOS
- Whether you have terminated the app — removing it from the task list stops recording. Do not terminate the app while recording.
- Whether the recording indicator is shown — while recording, the top of the screen turns light blue. If it is not shown, it is not recording.
- Whether you have granted permissions — set location to “Always Allow.”
Android
- Whether you have granted permissions — allow location, background location, and physical activity data all.
- Whether you have disabled battery optimization — set it to “no optimization” from the warning on the Settings tab.
- Whether you have turned off the device maker’s power-saving / optimization settings — some device makers stop apps with their own power-saving features. Exclude the app from optimization in device settings.
- Whether you have terminated the app — removing it from the task list stops recording.
- Whether the recording notification is shown — while recording, a recording notification appears in the notification area. If it is not shown, it is not recording.
If a Problem Occurs
If tracking doesn’t work as expected or recording breaks, first check the steps in When recording doesn’t work well. If that still doesn’t solve it, you can share the situation with the operators from the Settings tab.
- Check the app logs — view recent app operation logs
- Report a problem — send the situation and logs to the operators
Tracking is a feature easily affected by the device’s OS settings and battery optimization. Reporting the reproduction conditions and your device model helps speed up investigation.
A report sends the symptom you chose, the content you entered, and the app’s operation logs (time, device state, an overview of location-service operation). The detailed coordinates (latitude and longitude) of your recorded trail are not included.
Importing a Record into a Post
A saved record can be handled as a recording line in the map editor. For how to import it into a post, and how to delete private locations (such as your home or nearest station) or tidy up zigzag sections, see Importing records.
Tutorials
- Quick Start
Getting started with RouteShare
- Explore
List, map, and article views
- Account
Sign up, login, profile, settings
- Create
Quick posts, touring posts, gadget articles
- Planning
Create, share, and copy touring plans
- Tracking
Recording and editing tracks
- Teams
Create and join teams, team posts and chat
- Actions
Likes, comments, follows
- Manage
Managing your posts